Taking shape!

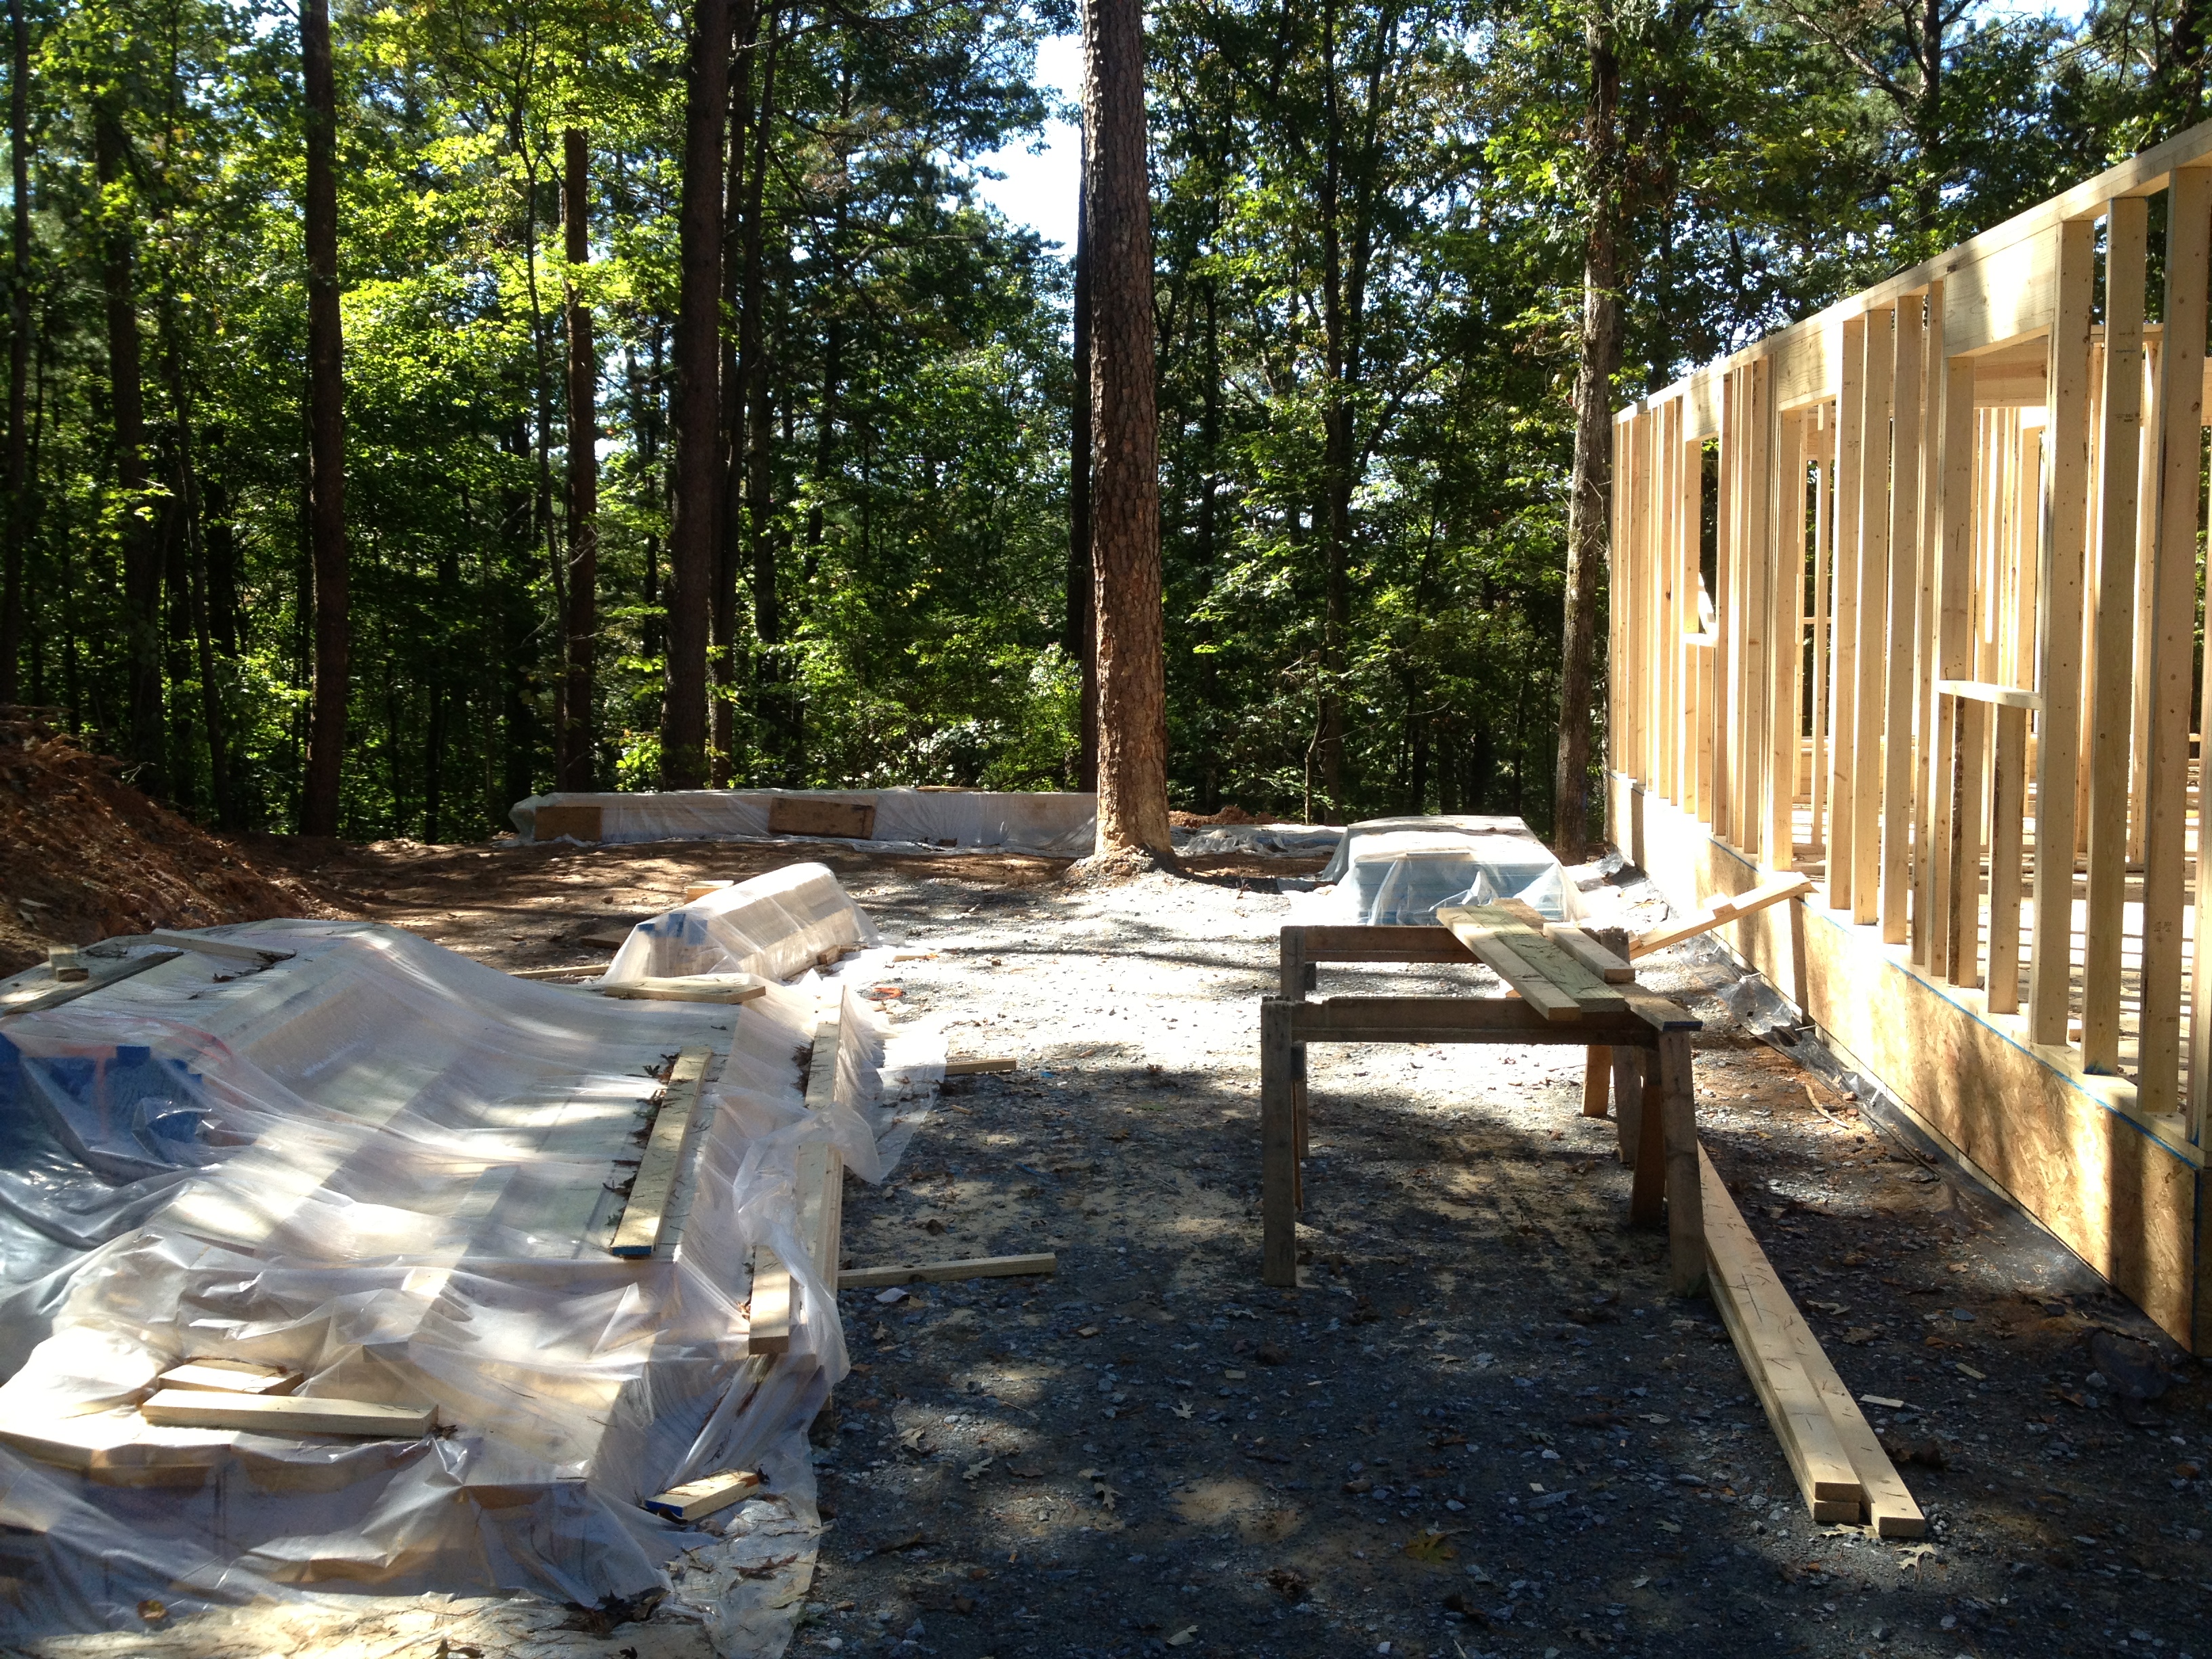
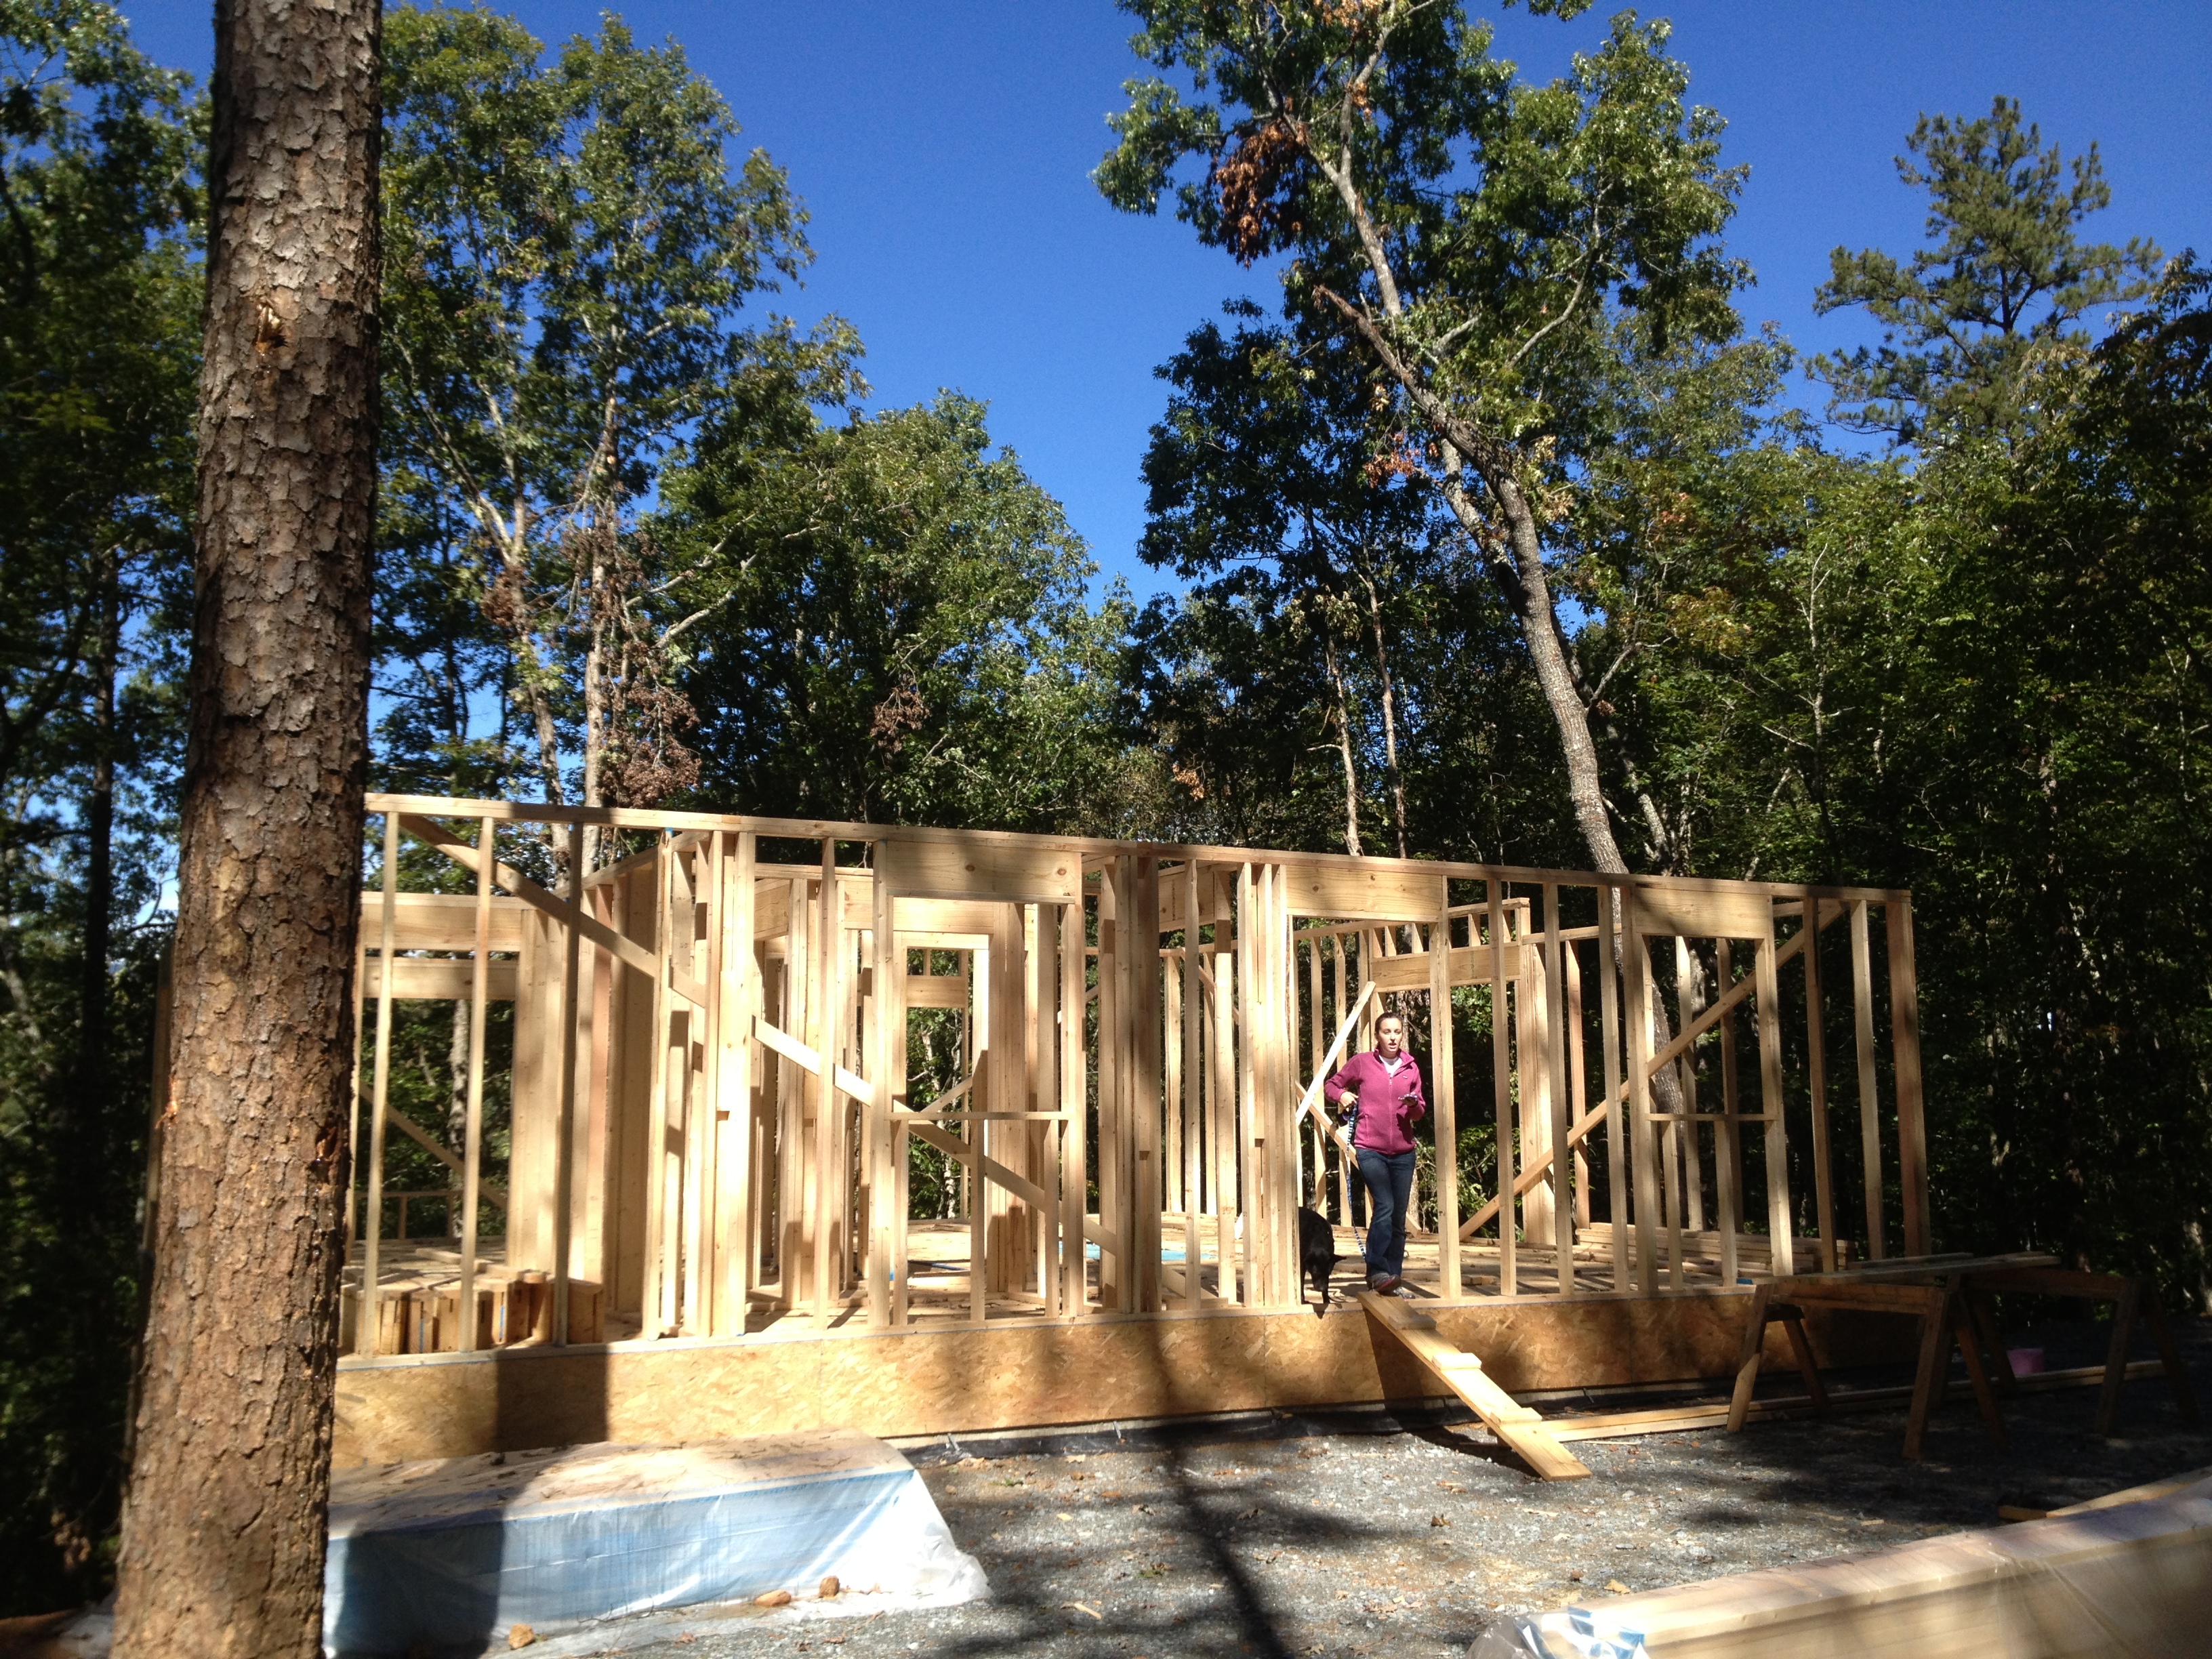
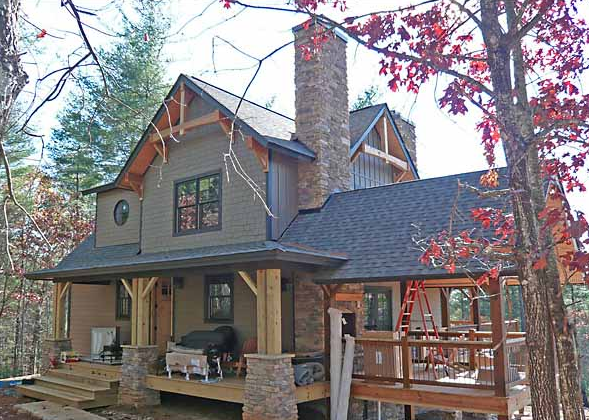
Things are starting to take shape, and it’s become obvious now that there is a dwelling under construction, not just a large box.

The curb appeal has changed a bit, and you can now see the rooflines and the shape of the facade. The shape of the roof is definitely adding some character. It will look even better with the porches.

IMG_0805


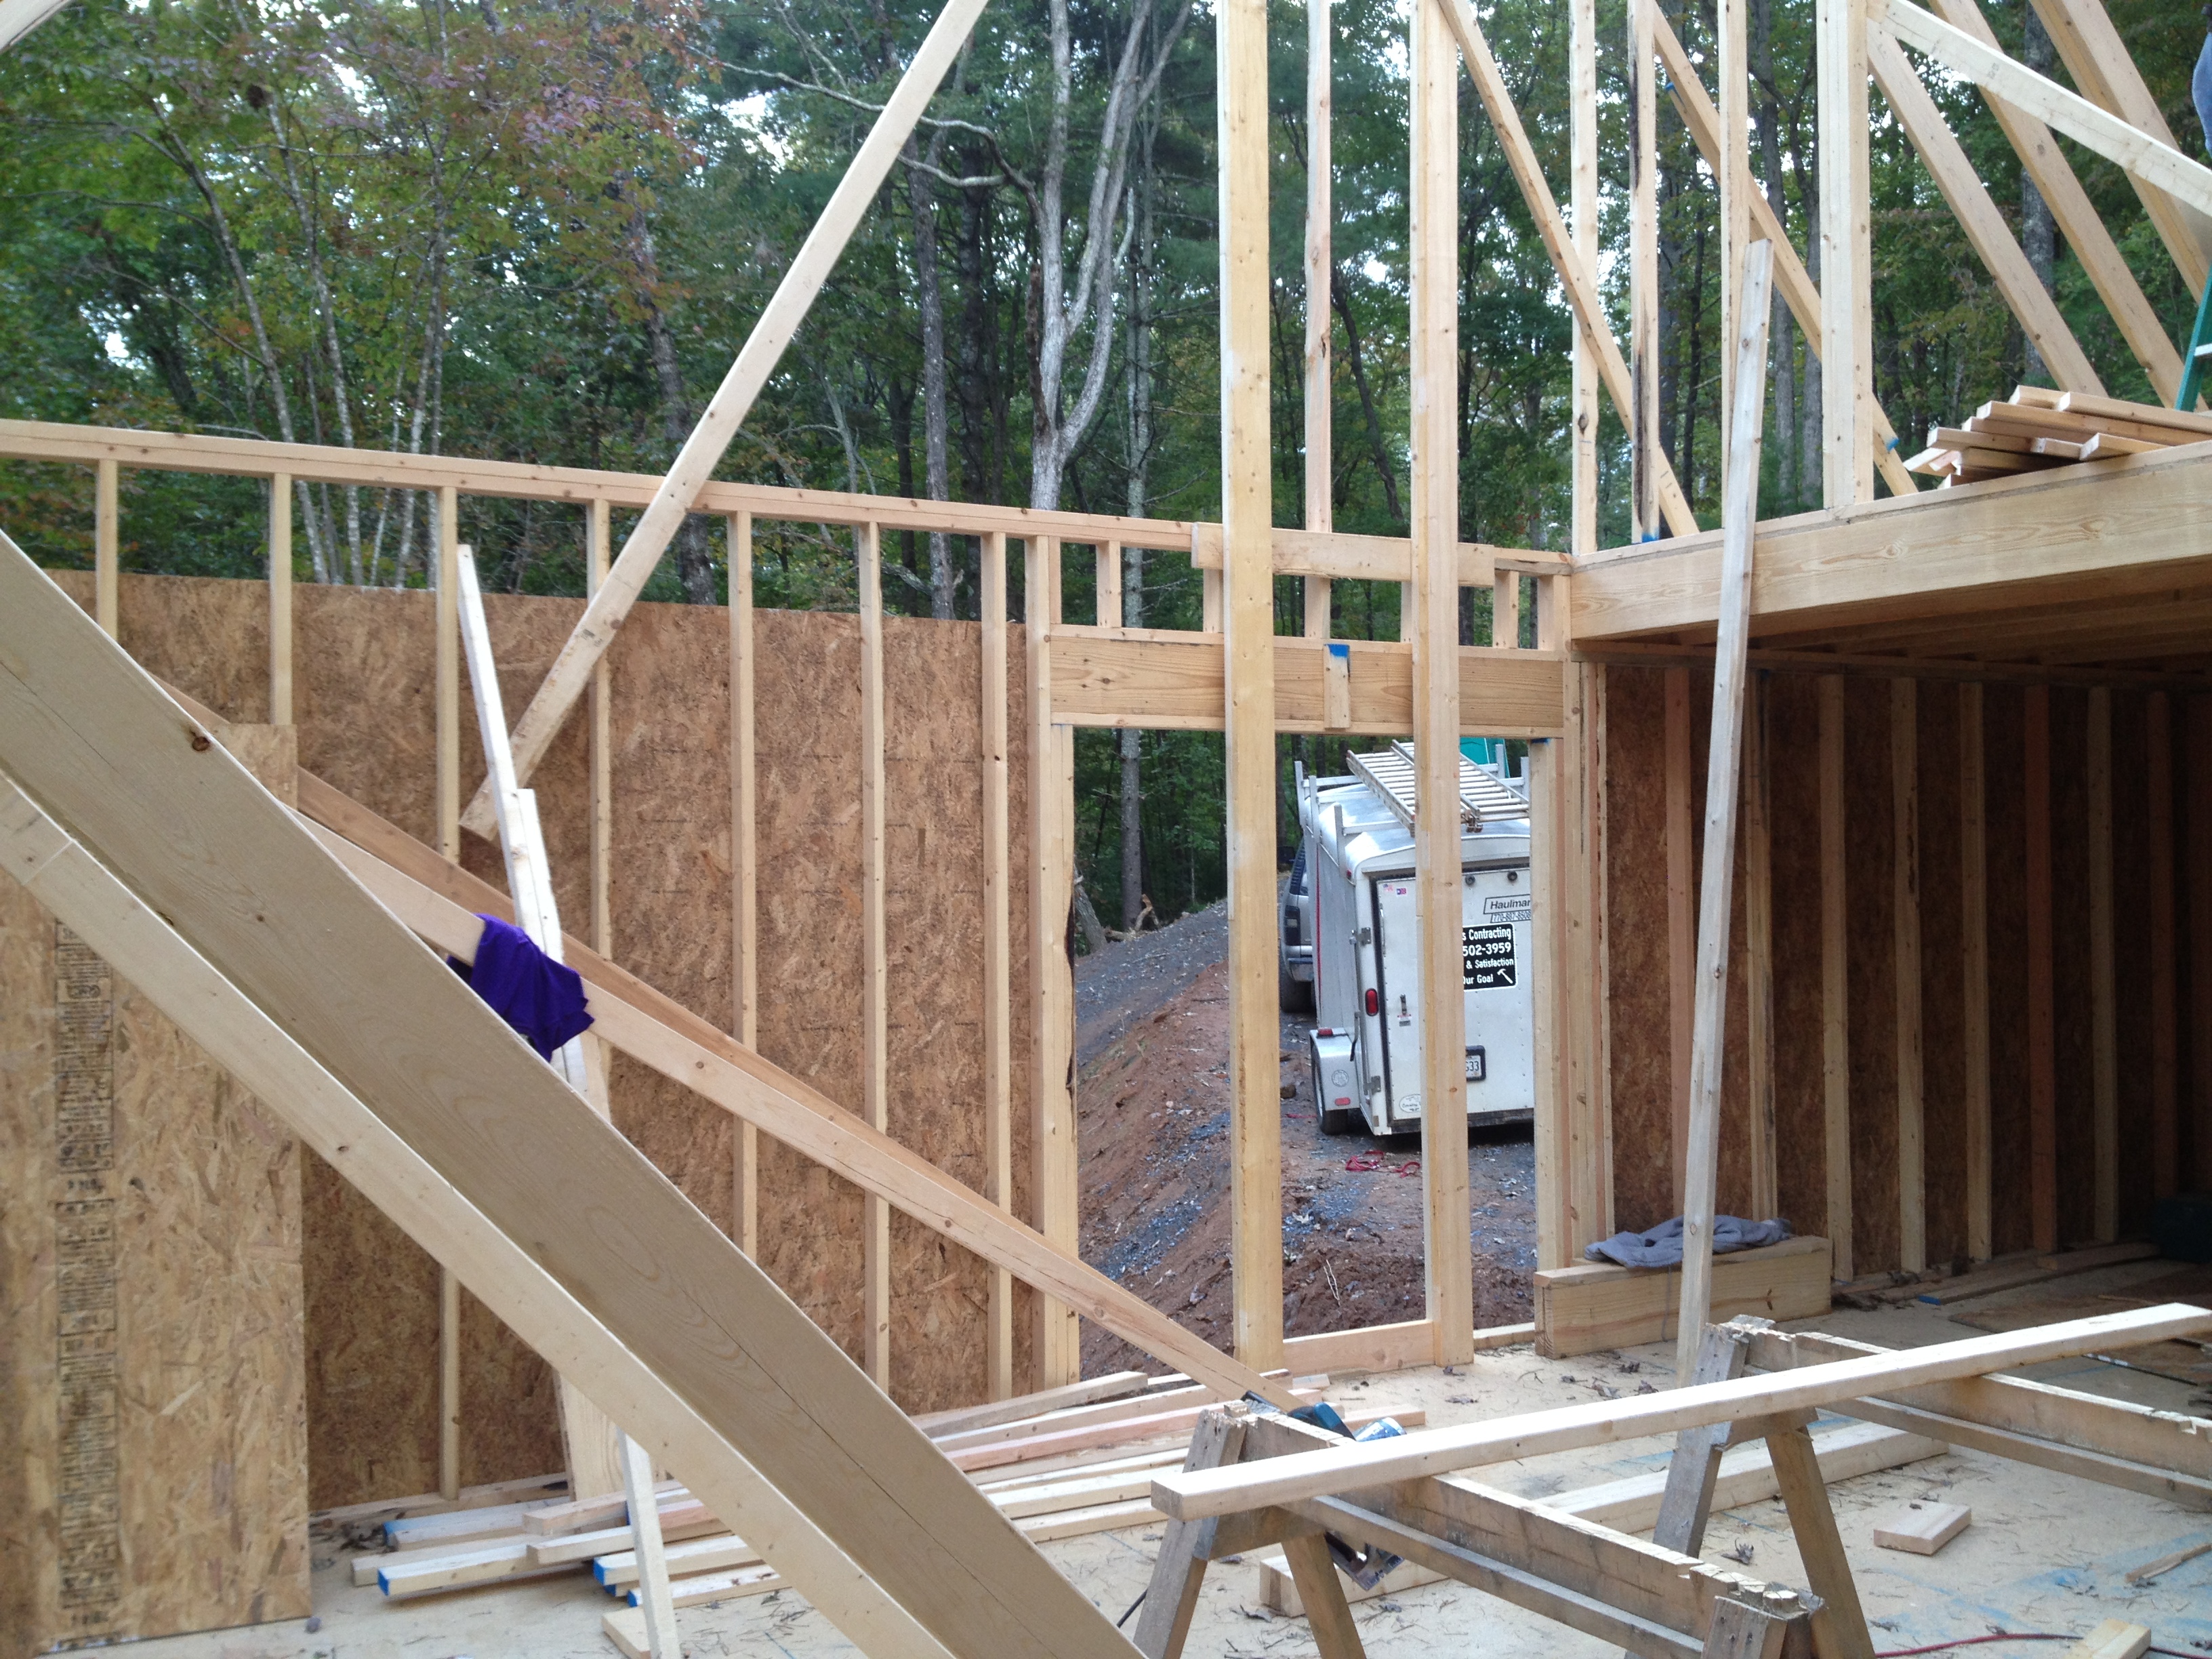
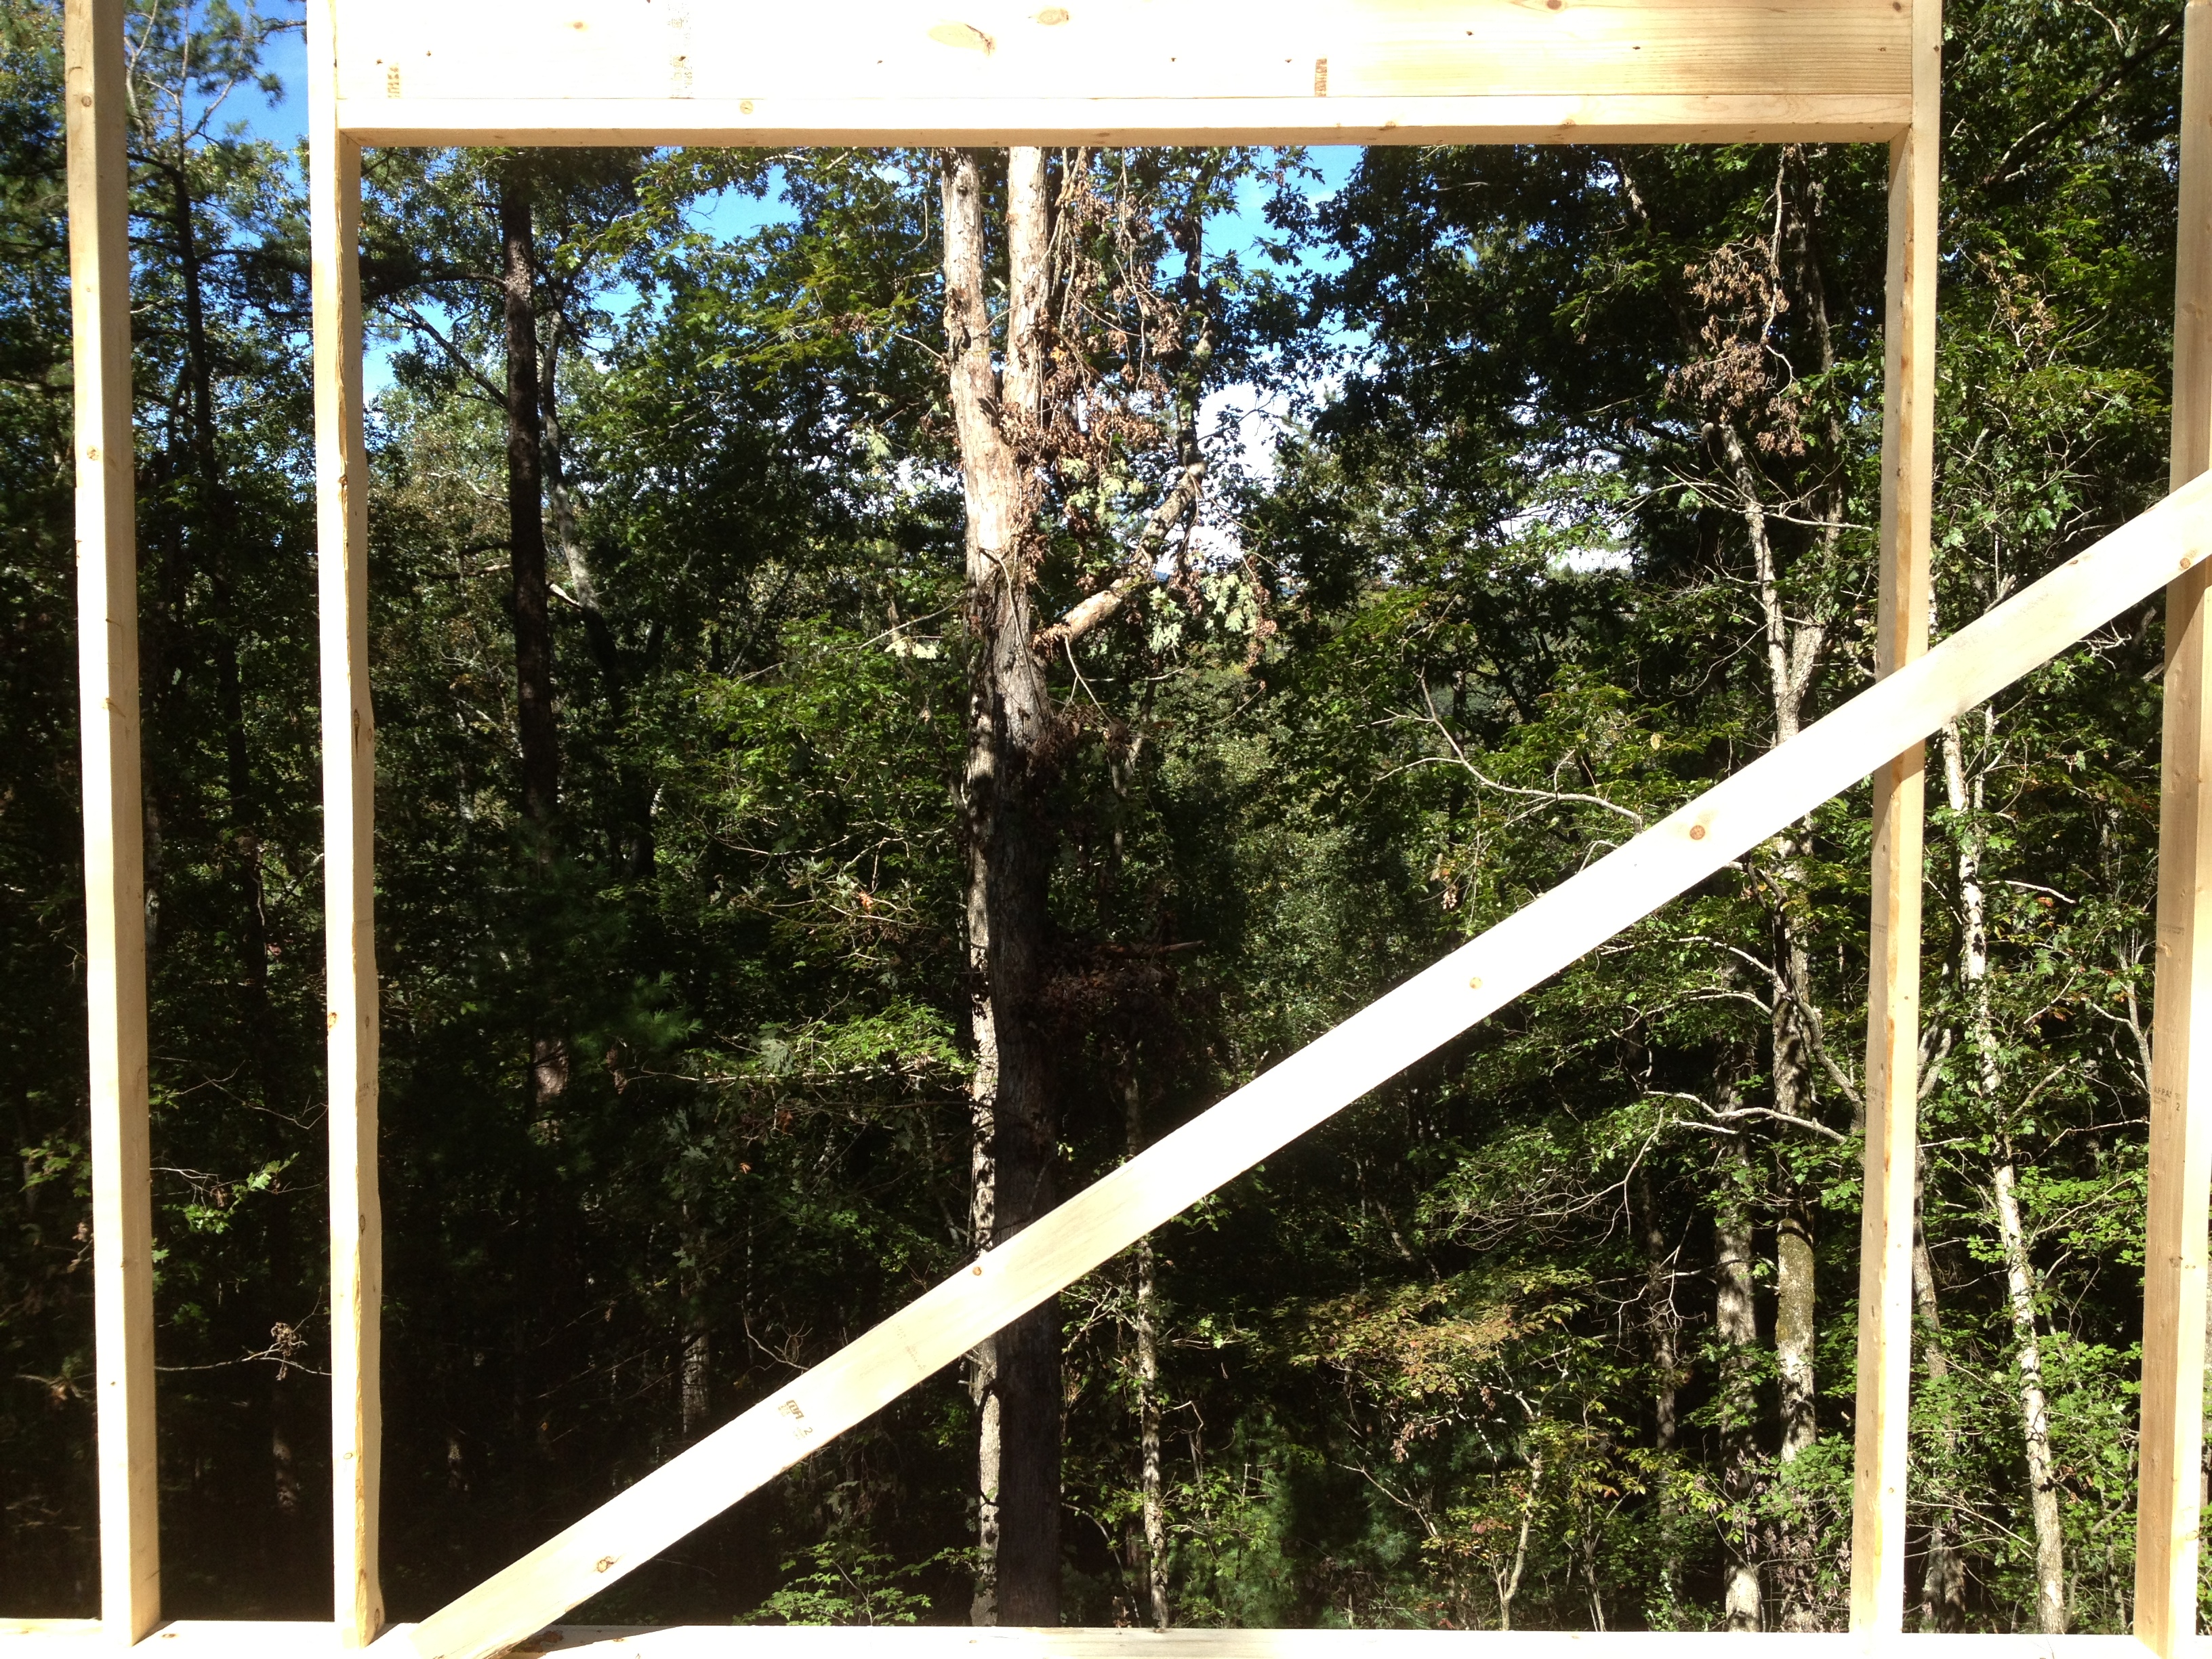
This will be looking at the side porch, but here you can see the opening for the french doors to get out there. The fireplace will be the left, so no windows on the rest of that wall. On the original plan, the porch was on the back, so there was a double hung window where we have the door. I’m going to come back to that change in just a minute, as it does have a drawback.IMG_0804

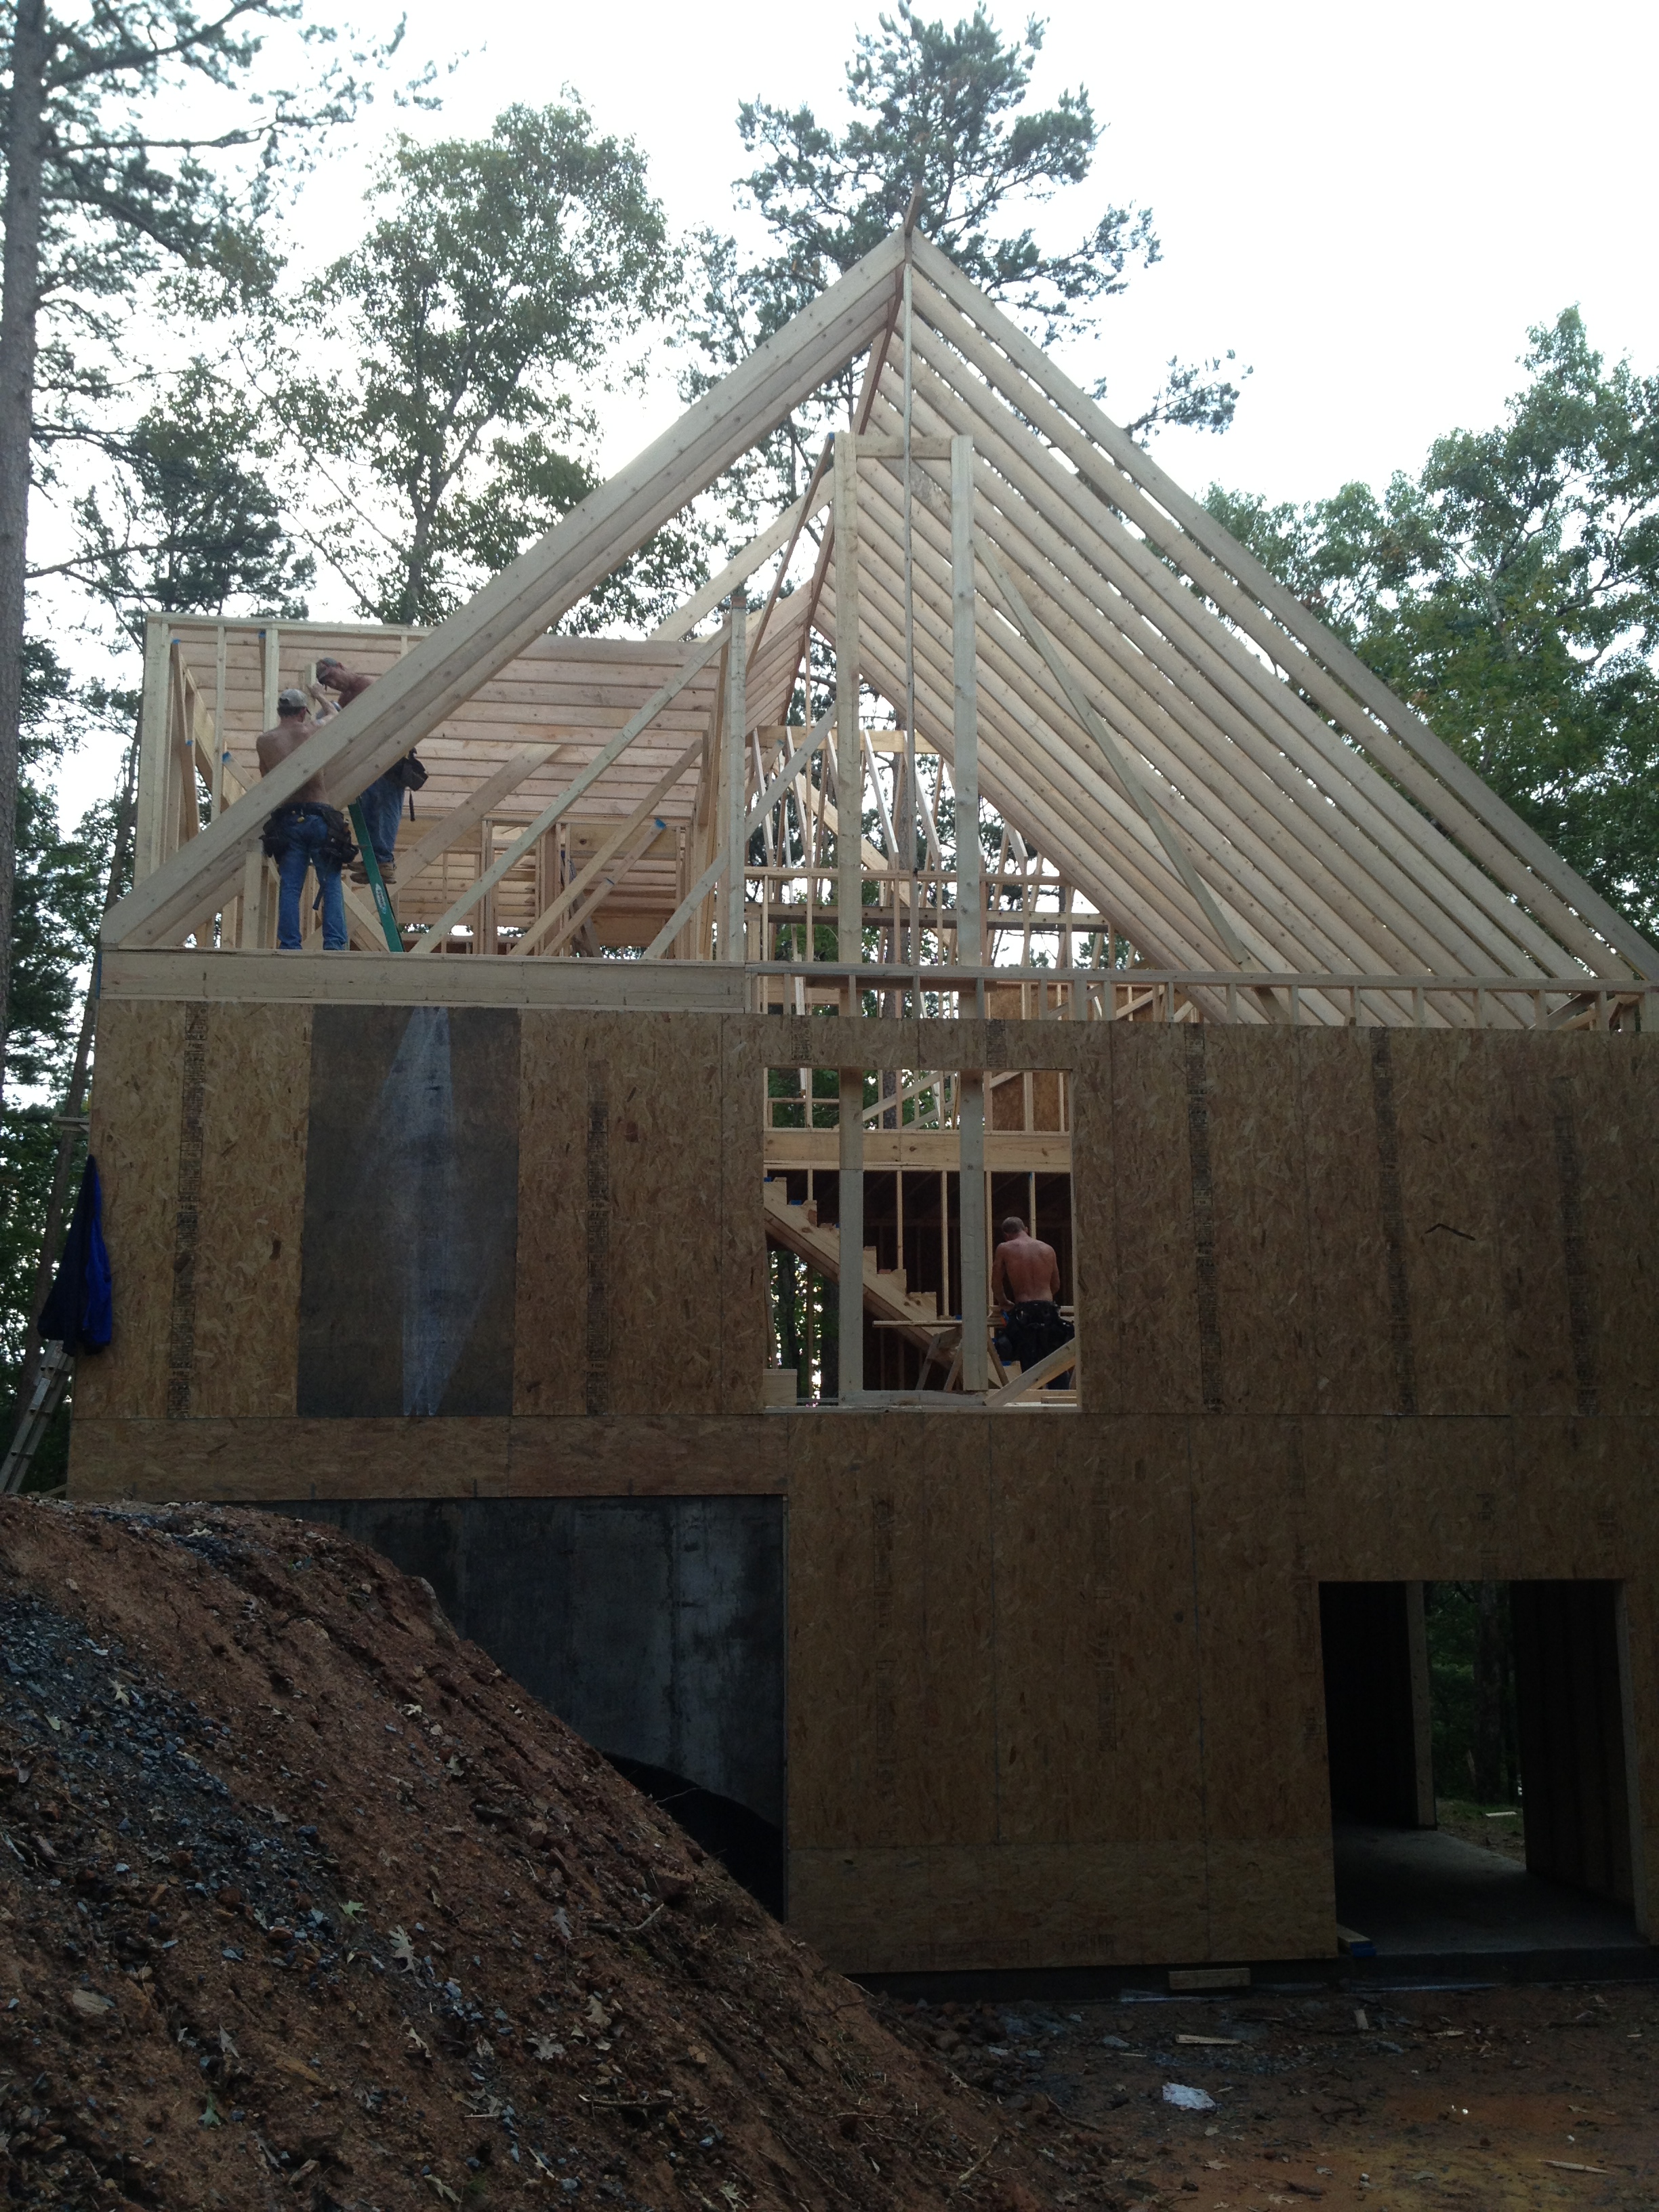
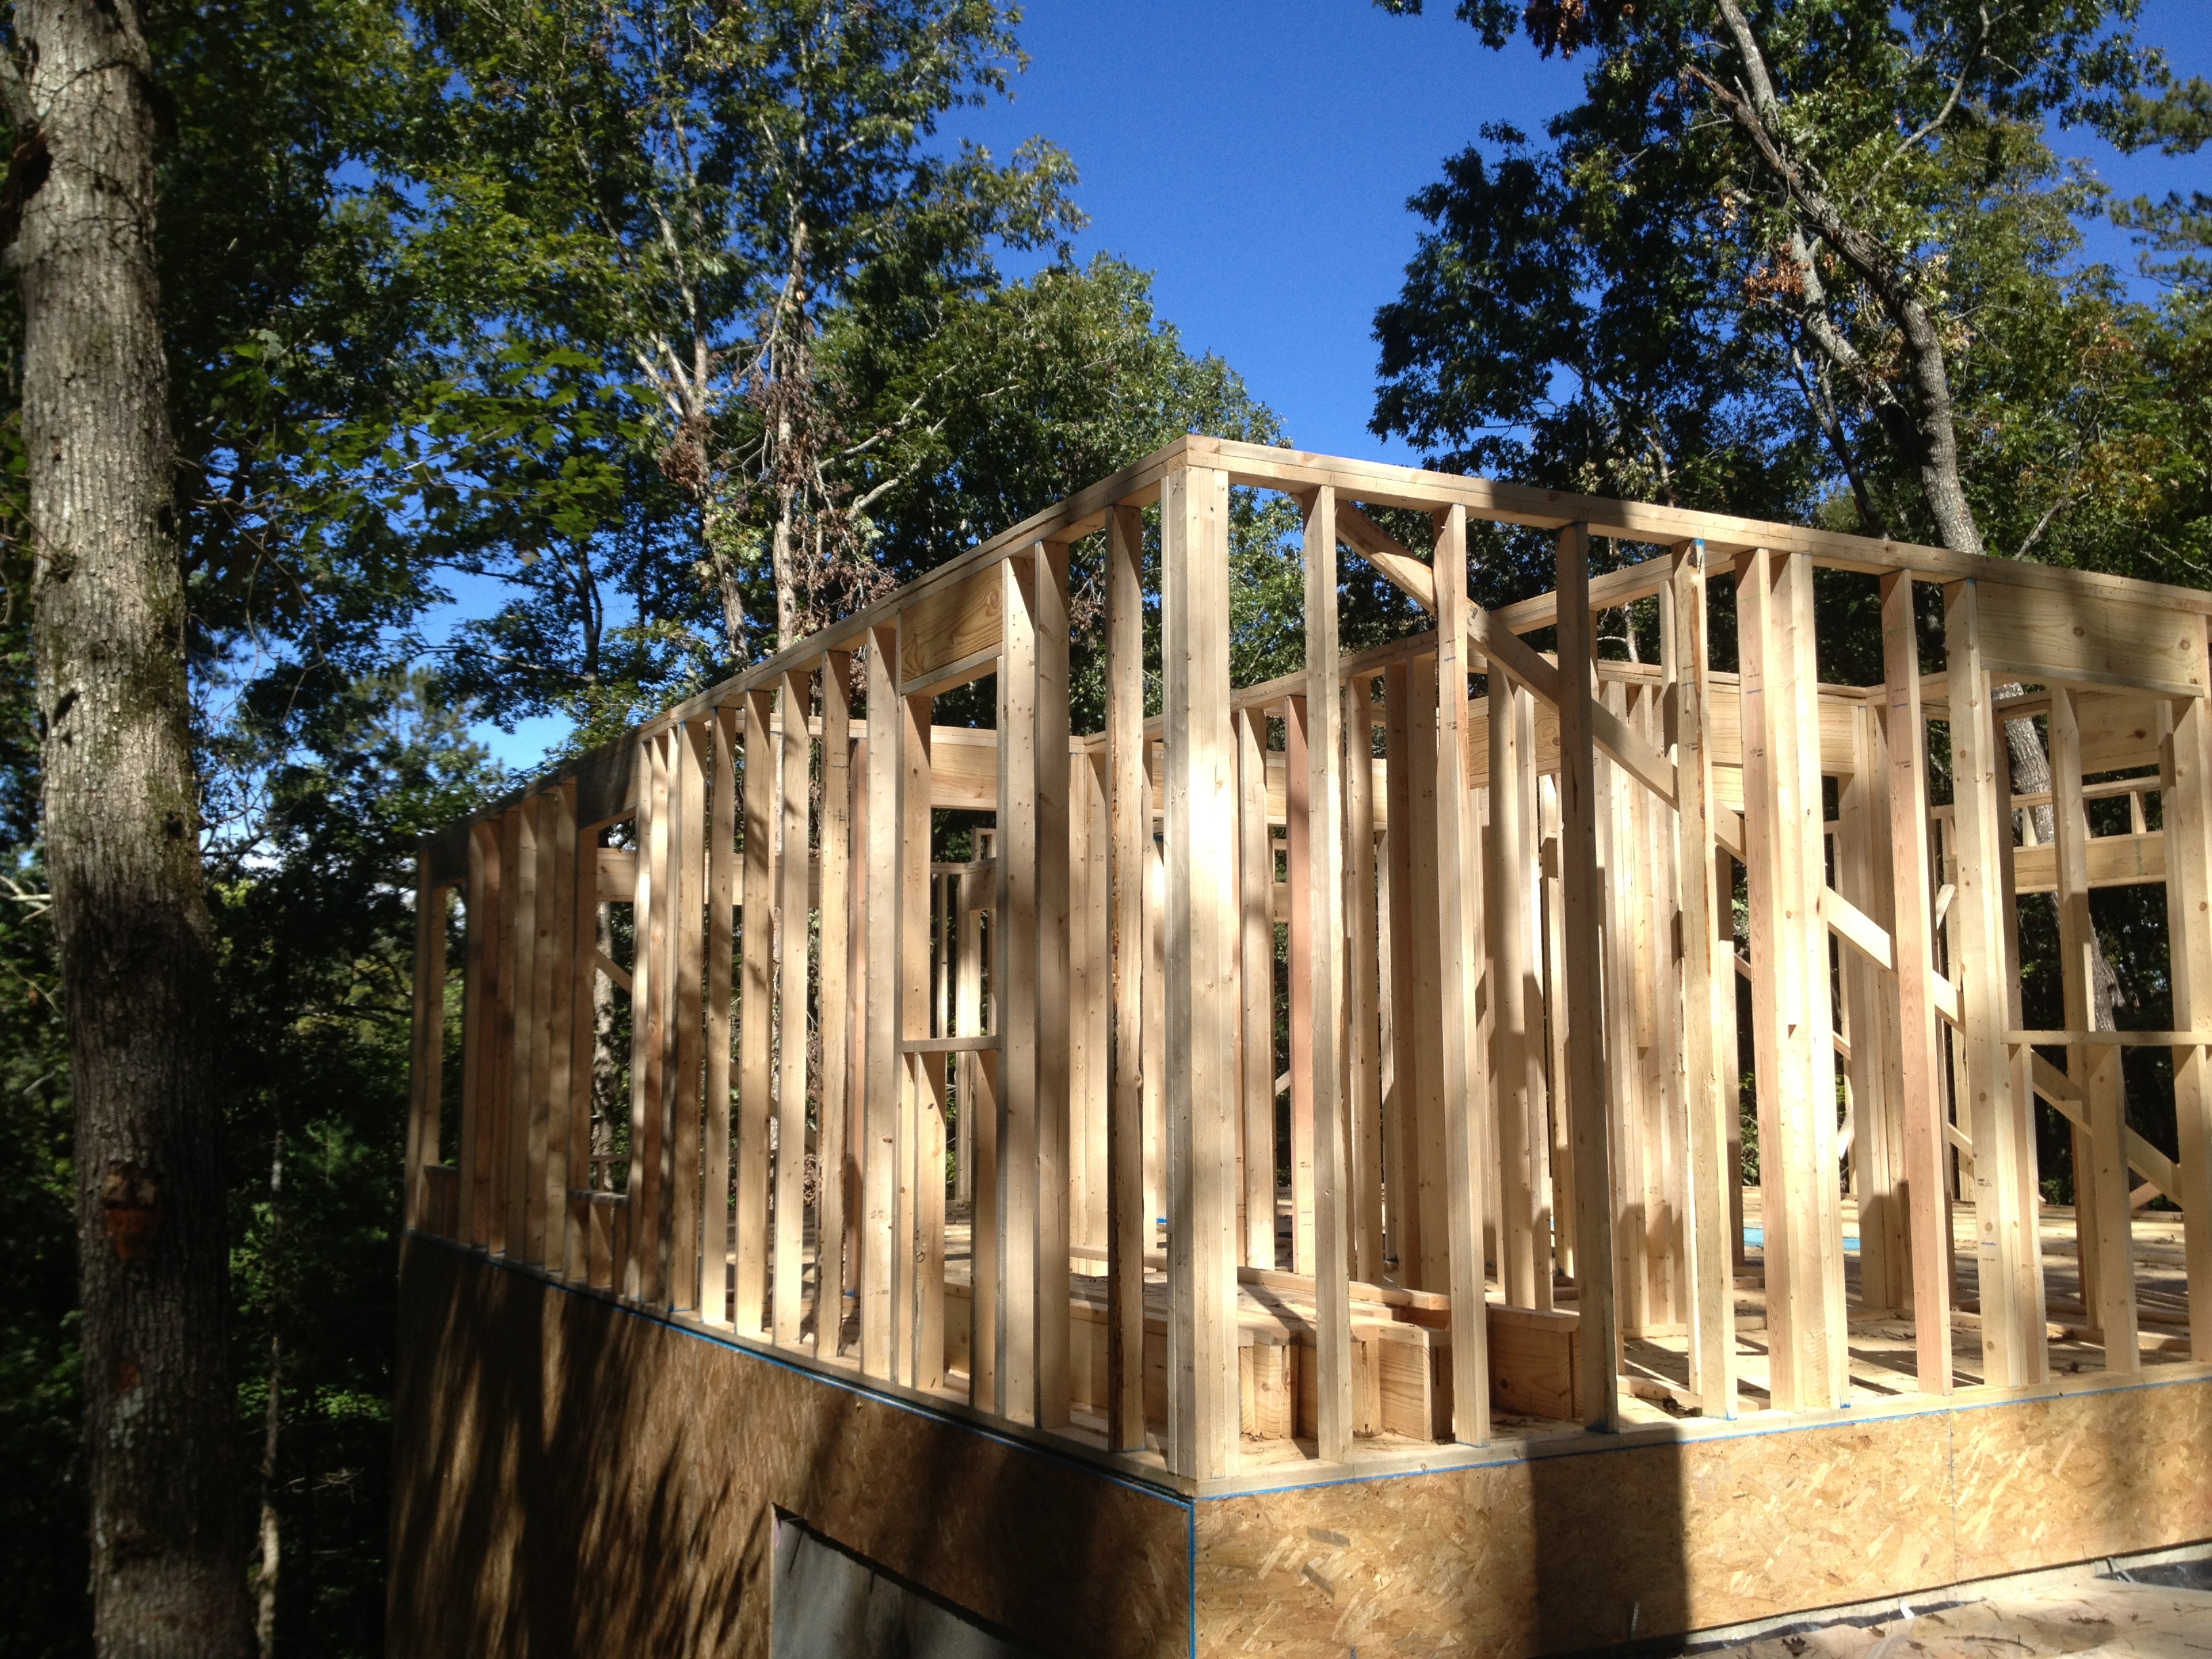
This is the left side of the house. You can’t see much, but this gives you some perspective on all of the framing, and the height of the house on this side. The side window for one of the upstairs bedrooms is also visible.That window may have the best view in the entire house, which was unexpected. It turns out there’s some nice looking mountains in that direction that aren’t visible unless you’re 35 feet off the ground. This supports my idea that any future site plans will be completed with the help of a drone. I think that’s a great excuse to buy one.IMG_0795

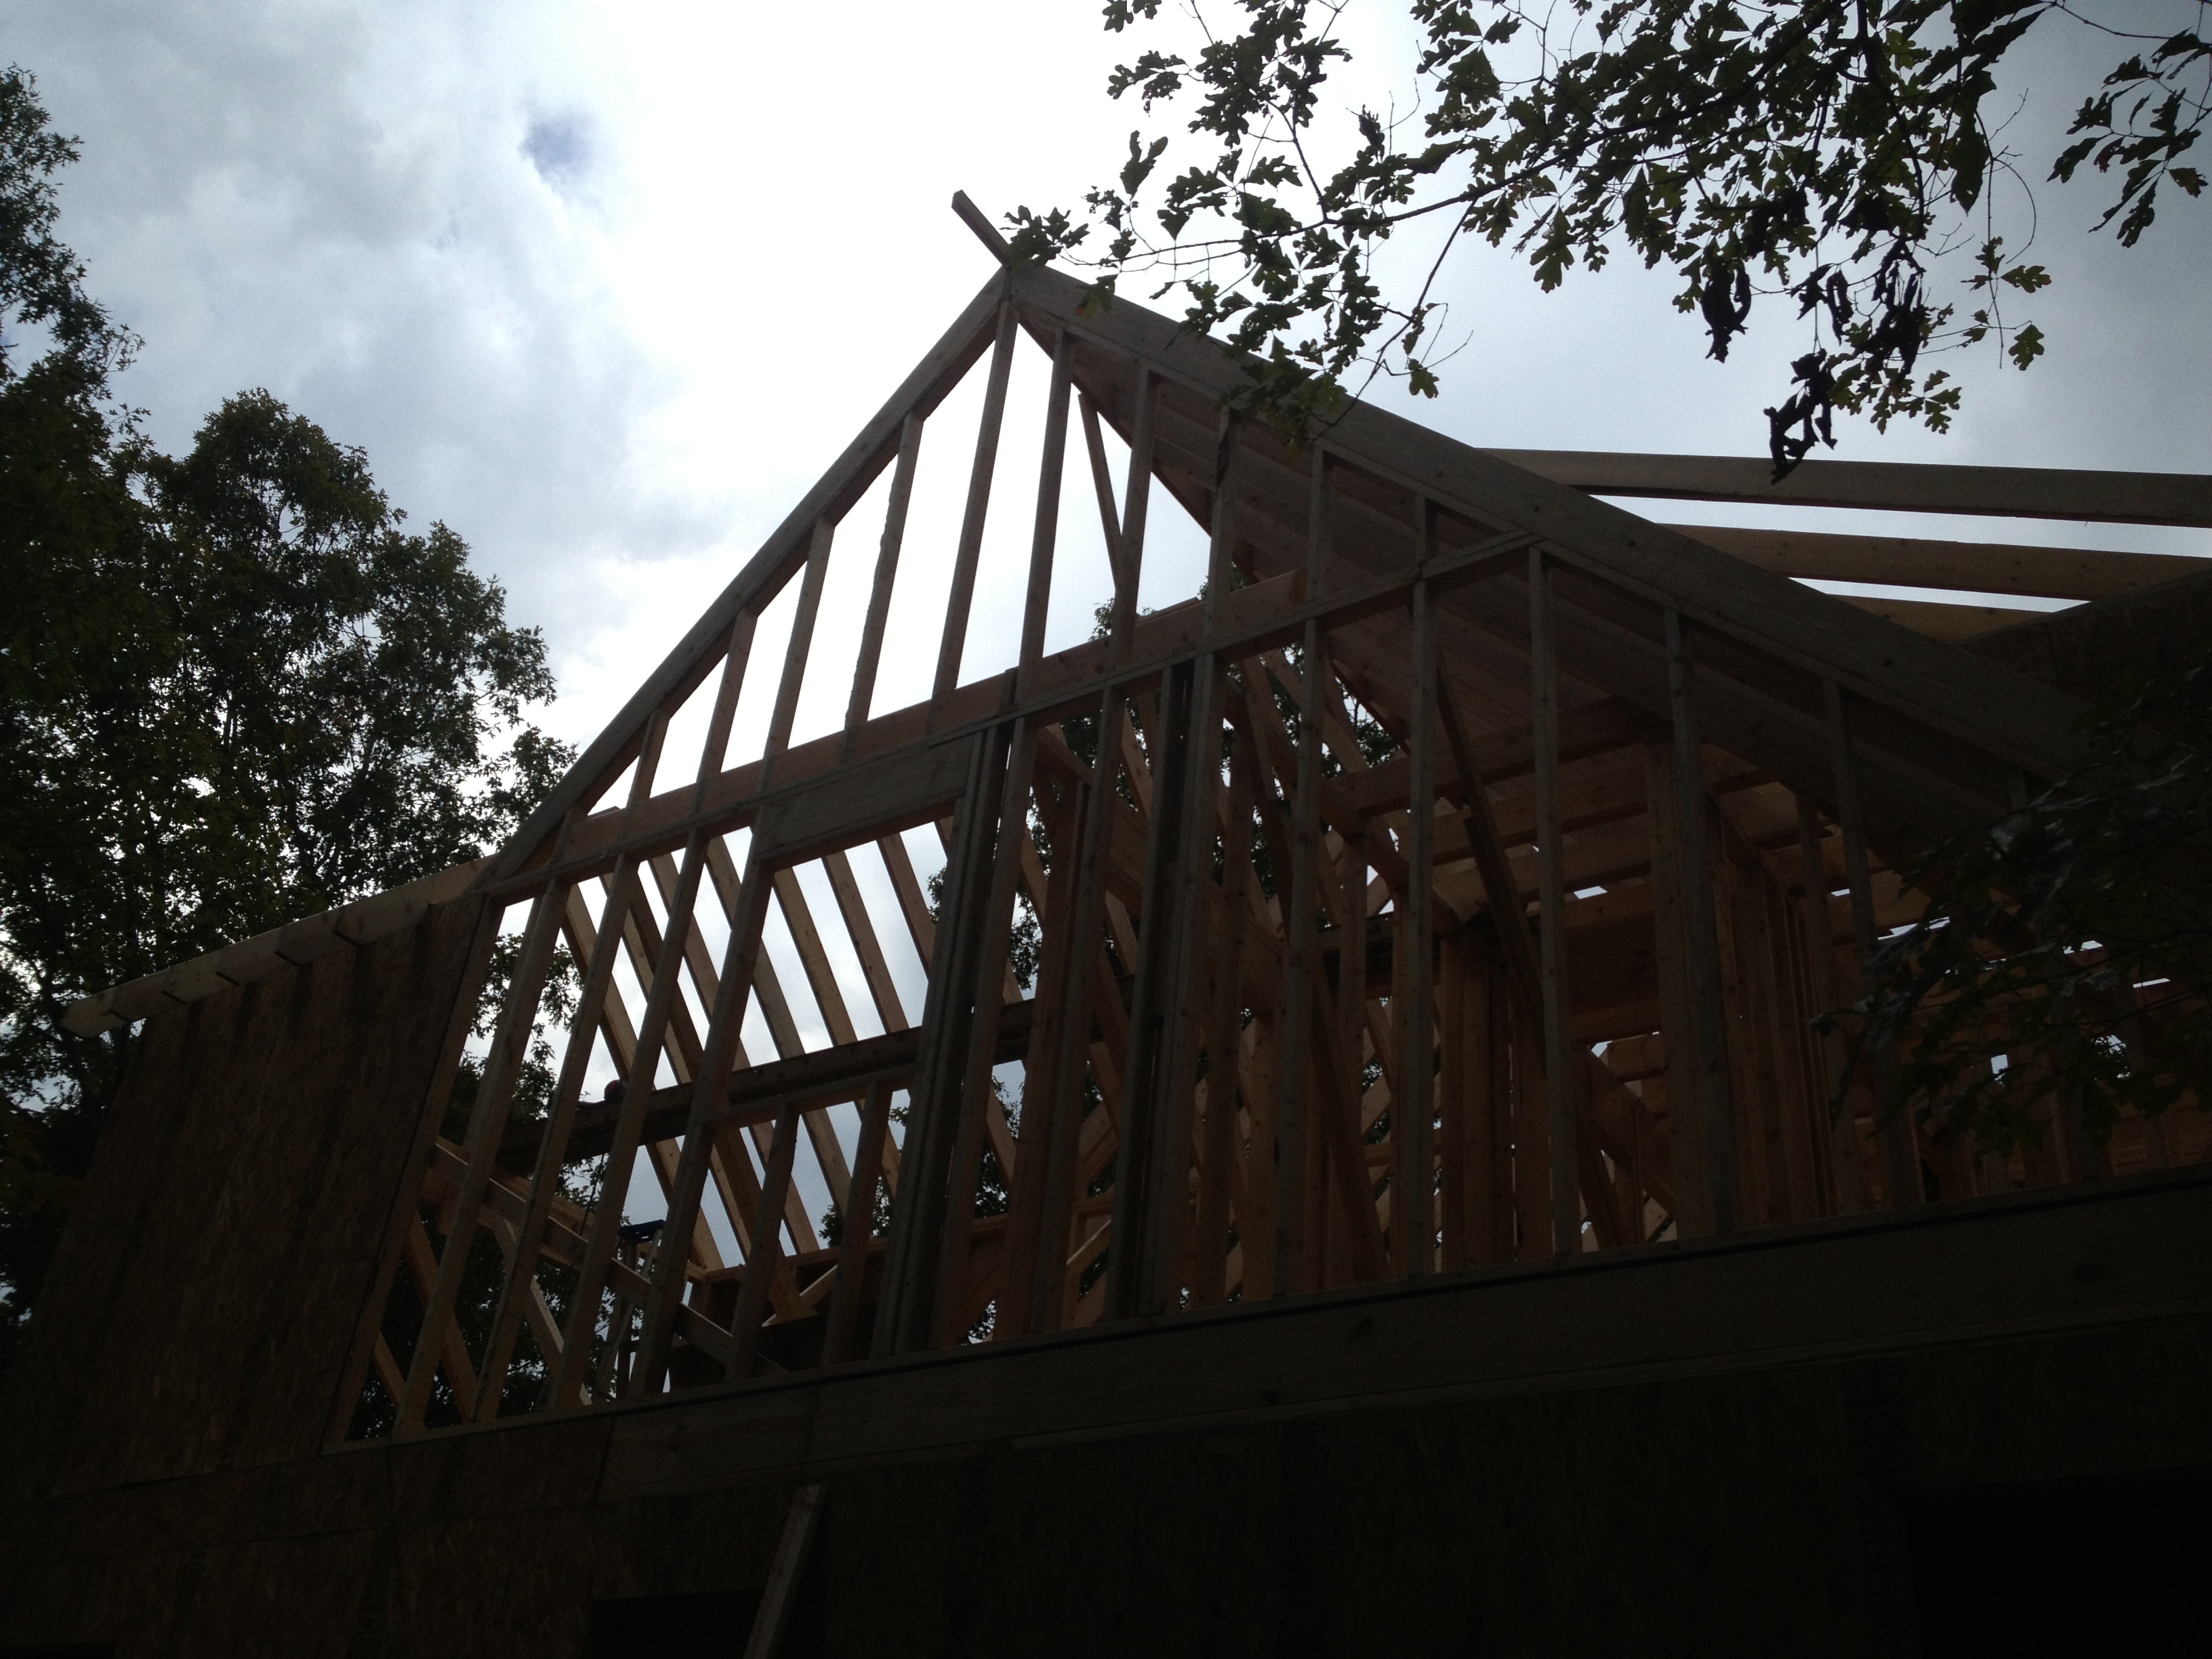
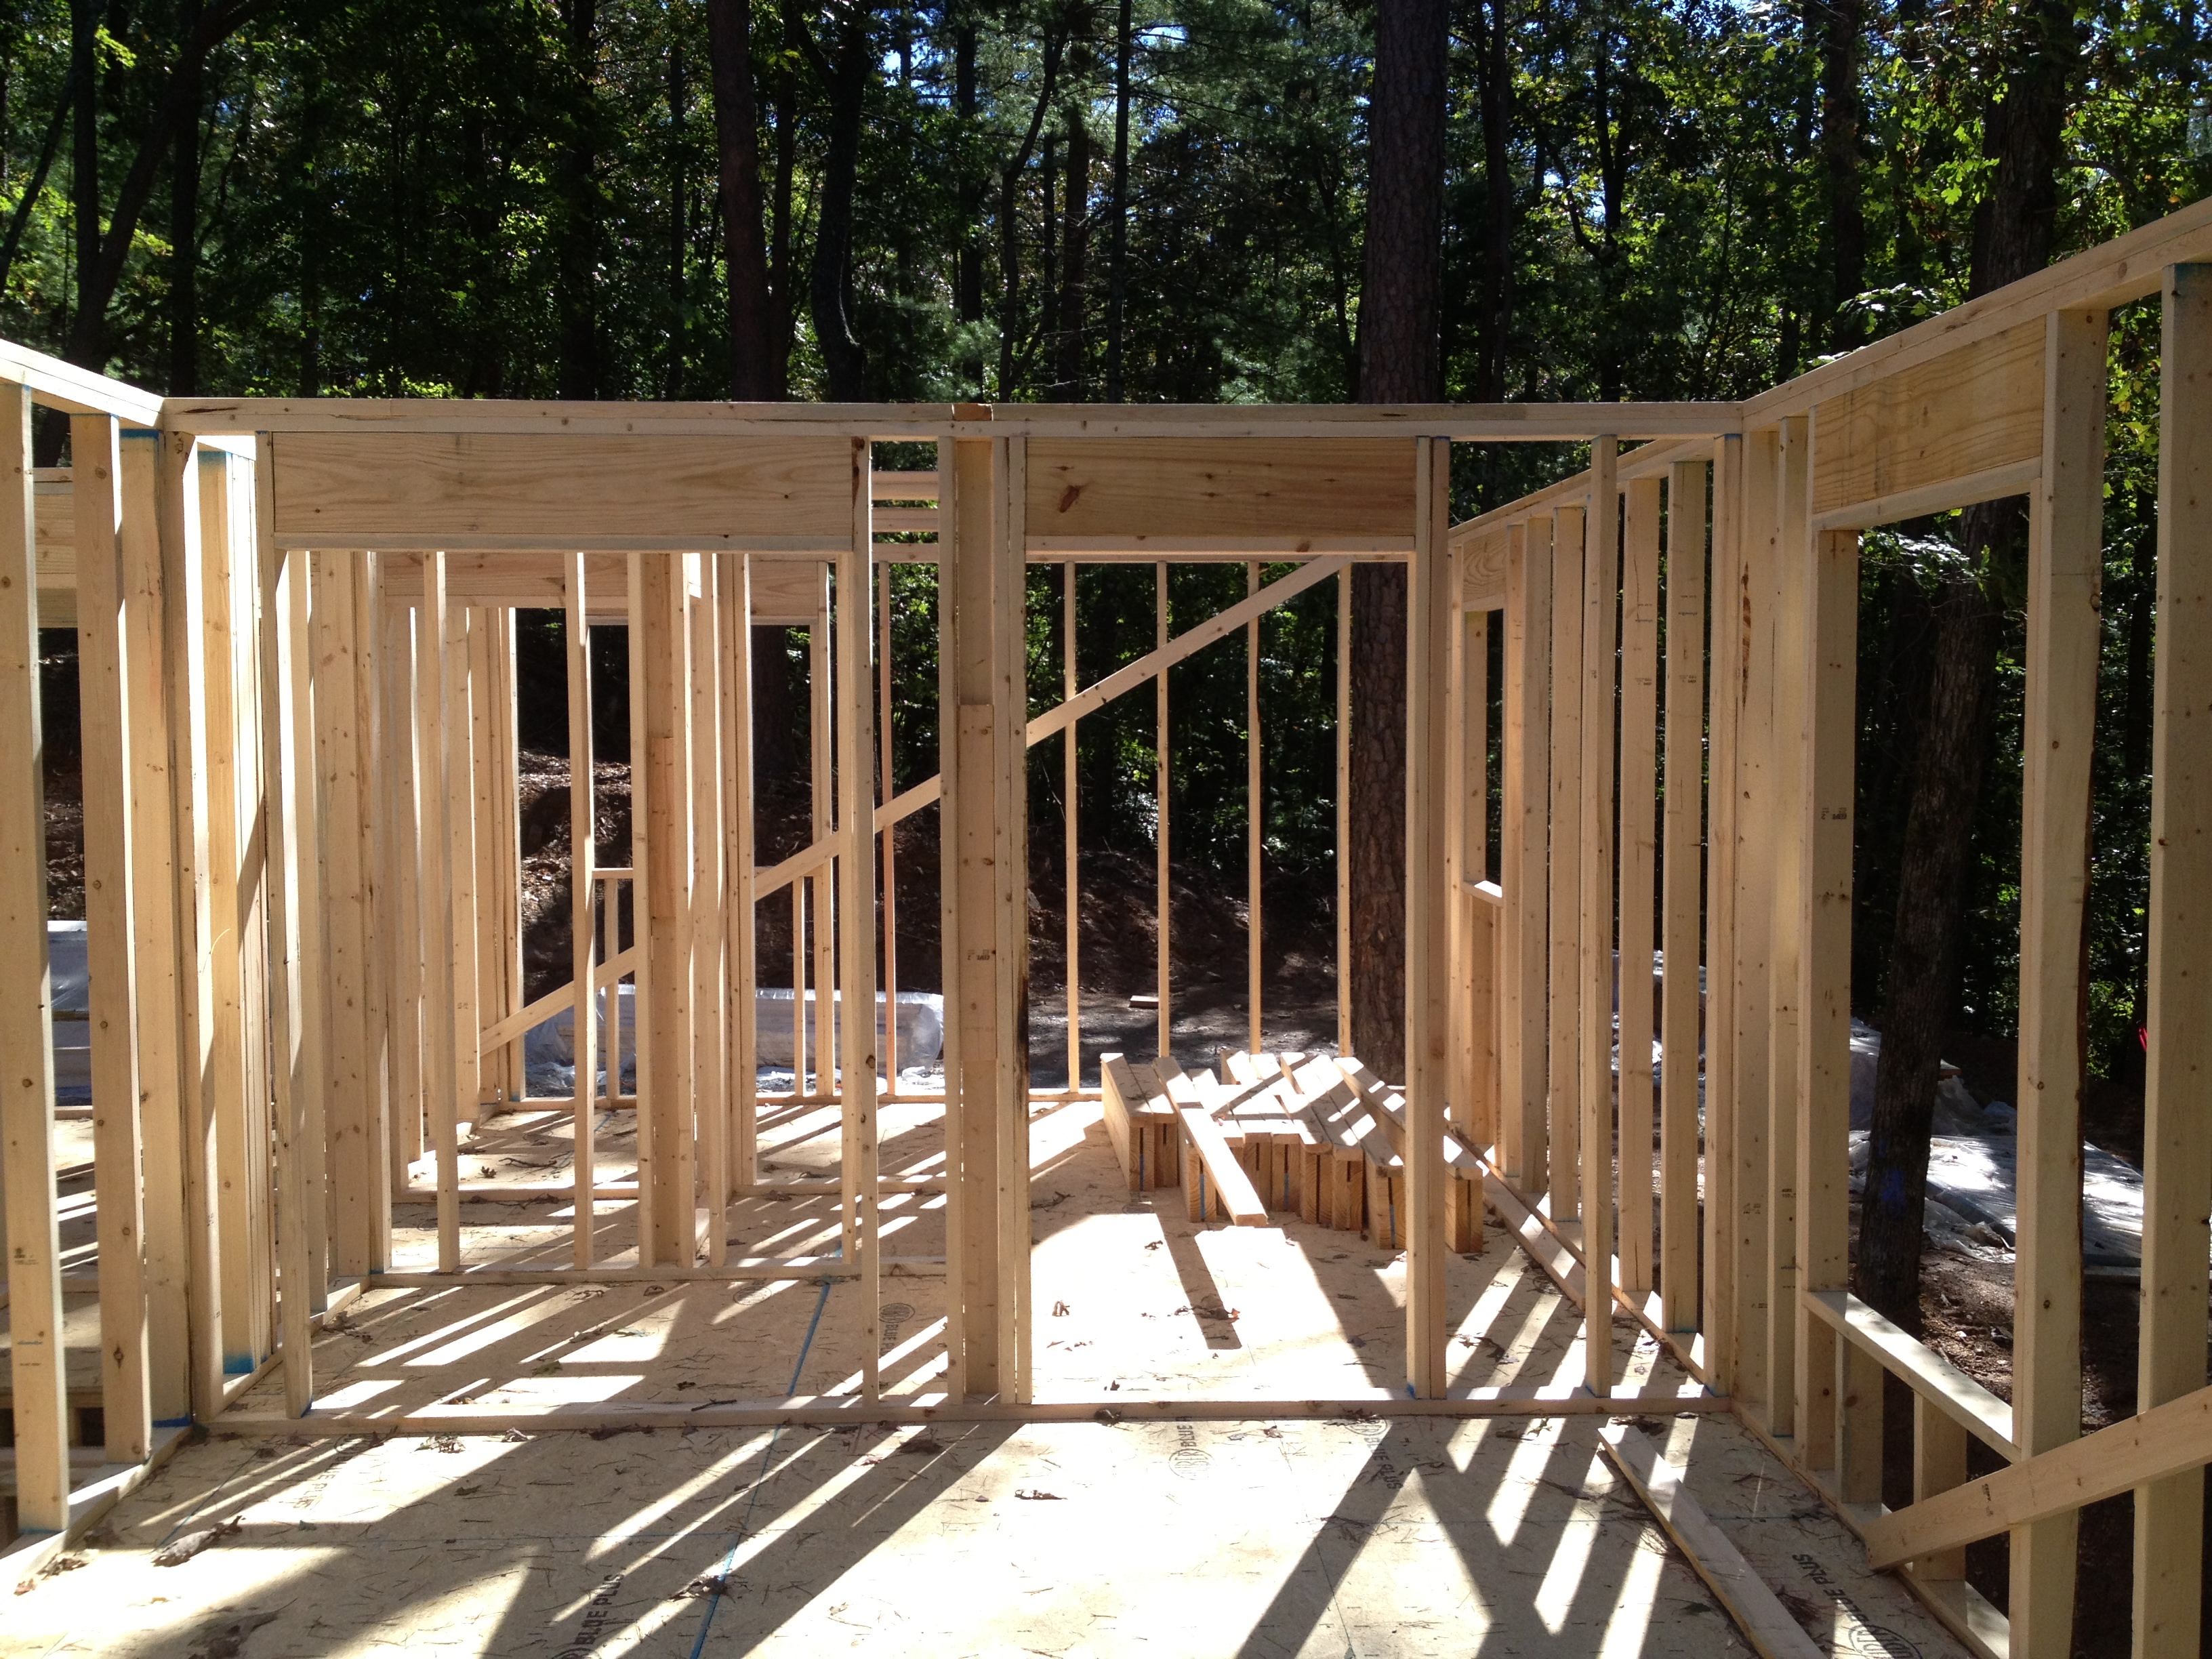
For the time, you can actually walk “into” the house. It’s pretty awesome. Looking across the house from the front door, you can see across the great room and out the back. To the left is the steps down the basement, a coat closet, and then a small hallway to the half bath and laundry closet. To the right is the kitchen. The door to the back left goes into the downstairs bedroom.

IMG_0803

Now we’re across the living room and looking back towards the kitchen. You can see the front door through the steps, that’s where I was standing for the previous picture. The window in the middle of the front wall is above the kitchen sink, so this house will have a nice big front porch and a window for the sink! HGTV would give us a couple of points for that.

IMG_0800

Now for the part HGTV won’t give us points for. By moving the porch to the side, and turning the double window into doors, we’ve greatly reduced the space that would be available for a table. We can set up the kitchen to have a bunch of seats, but there won’t be a way to put a table of any size. I think a square 4 person table would be fine, but the pottery barn thanksgiving dining room table is definitely out (it was never in, but now the best option is probably no table, so the opposite extreme).

IMG_0801

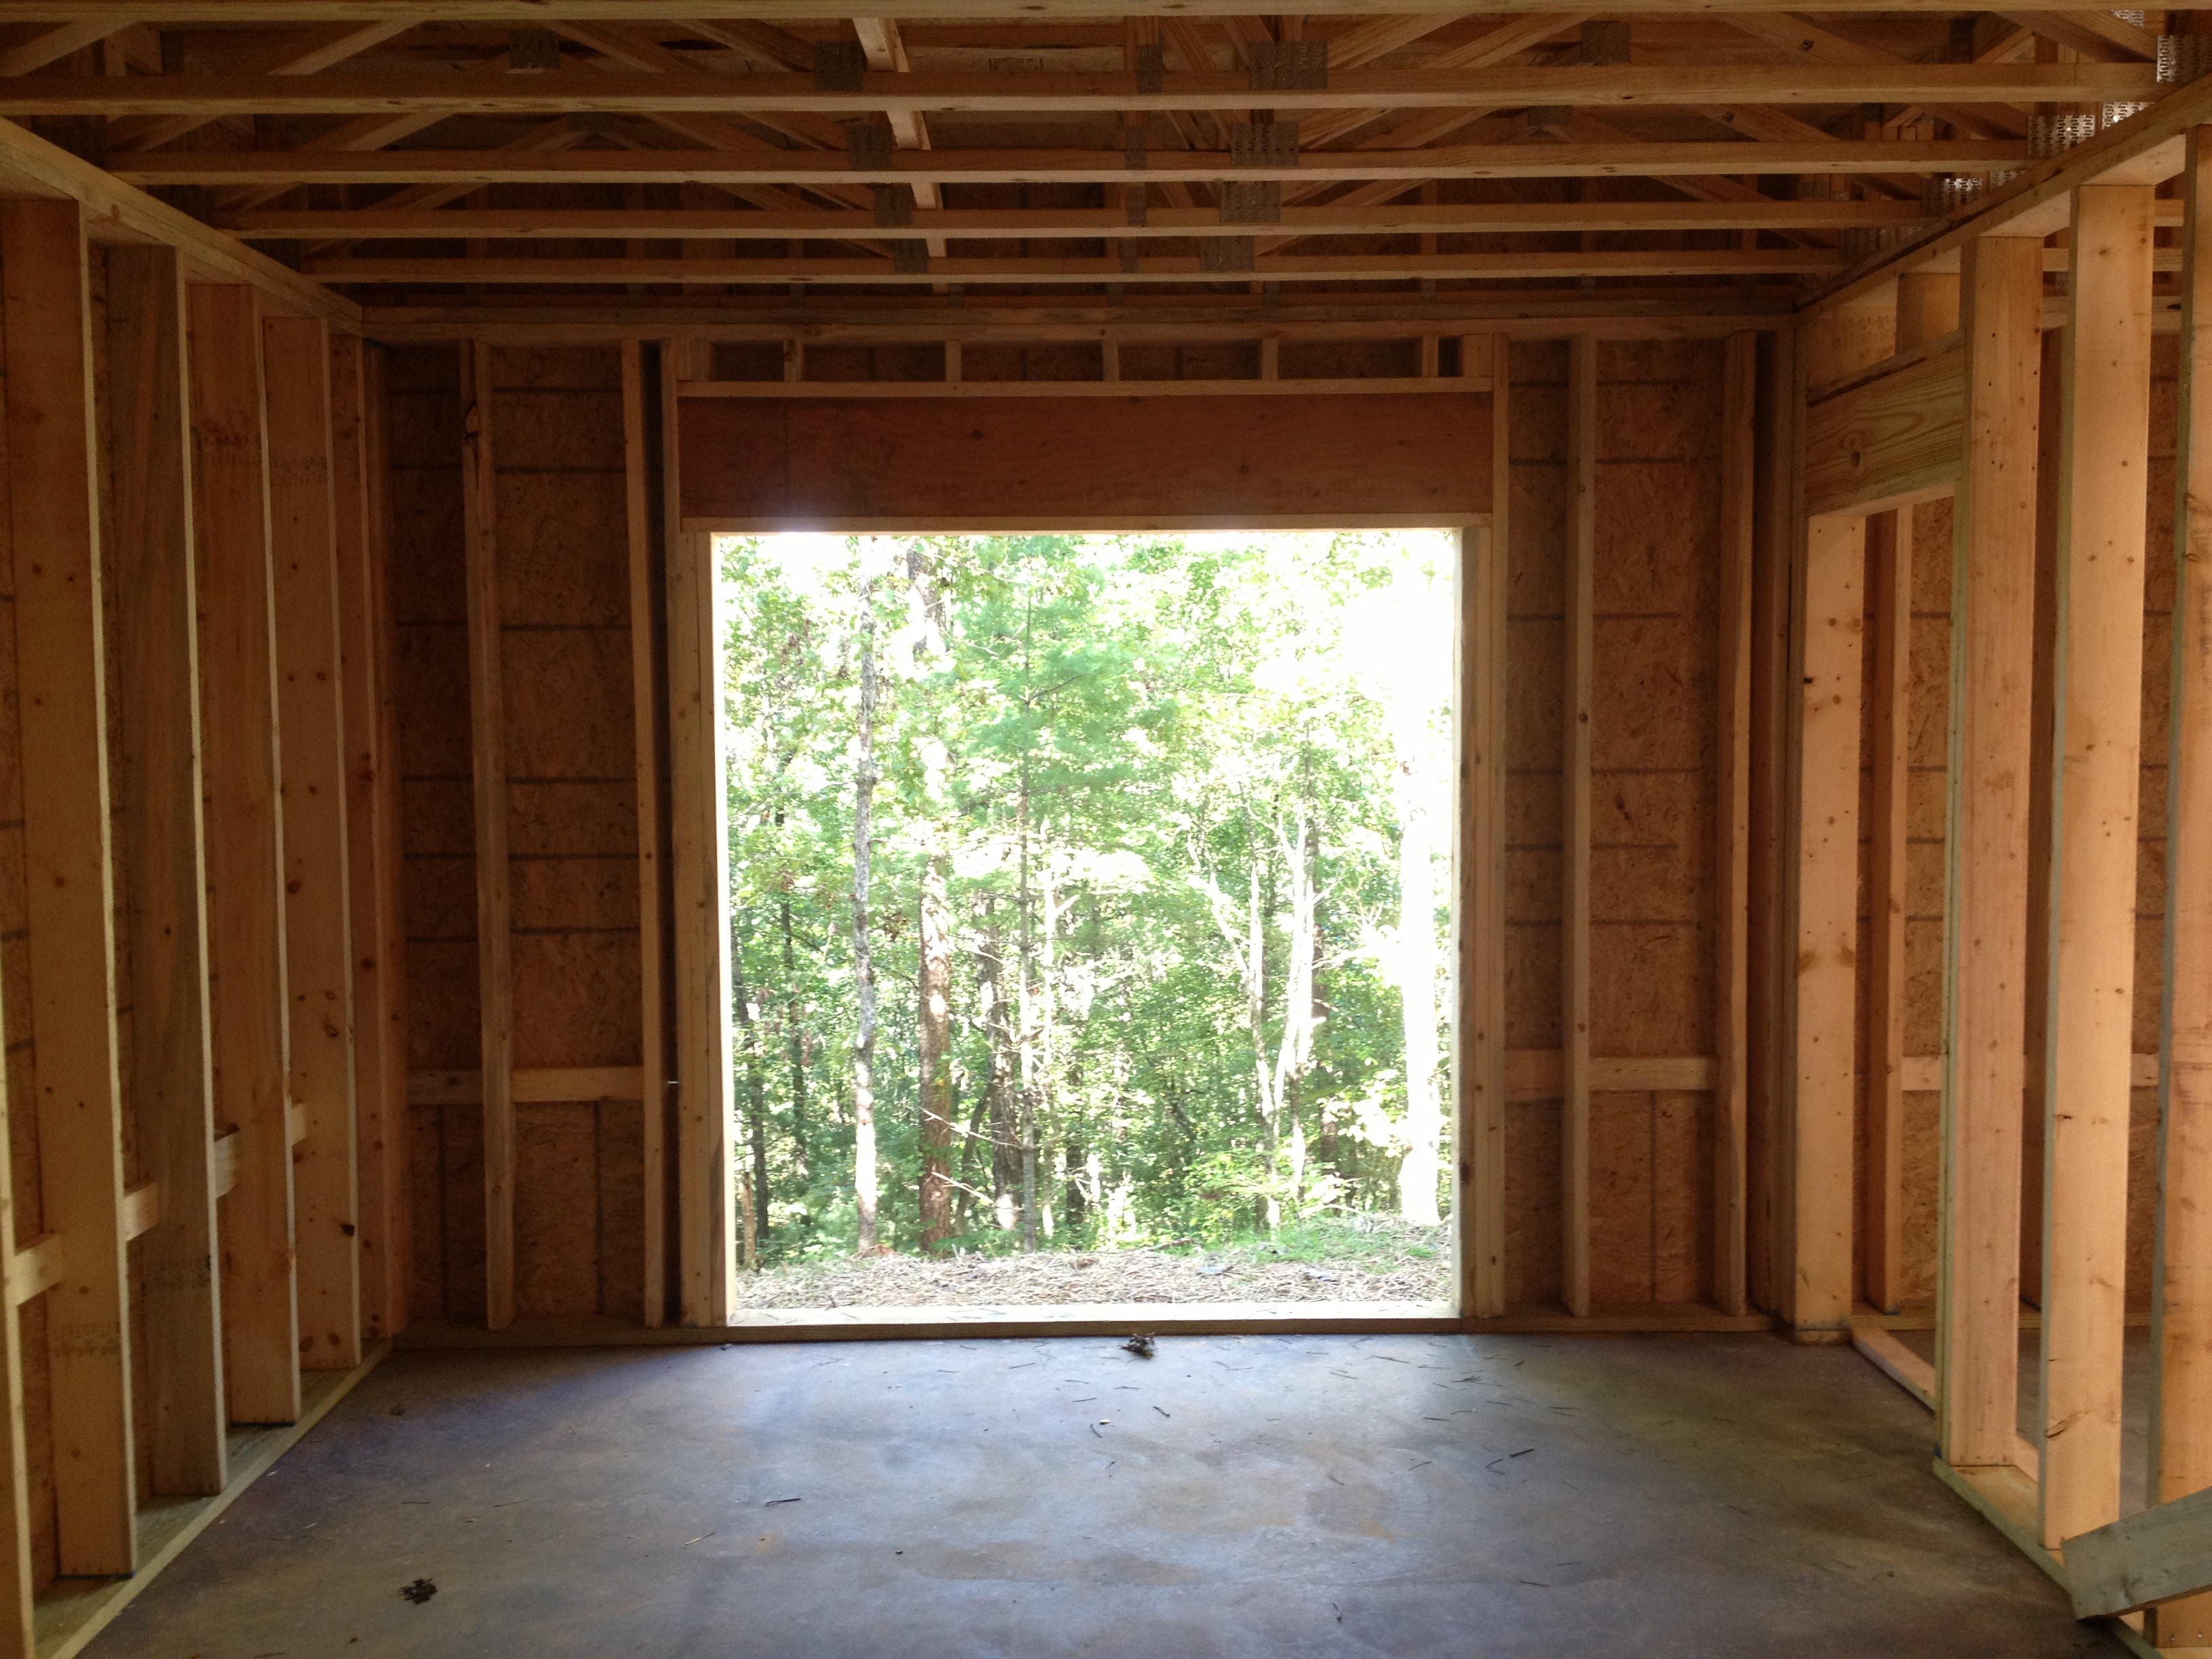
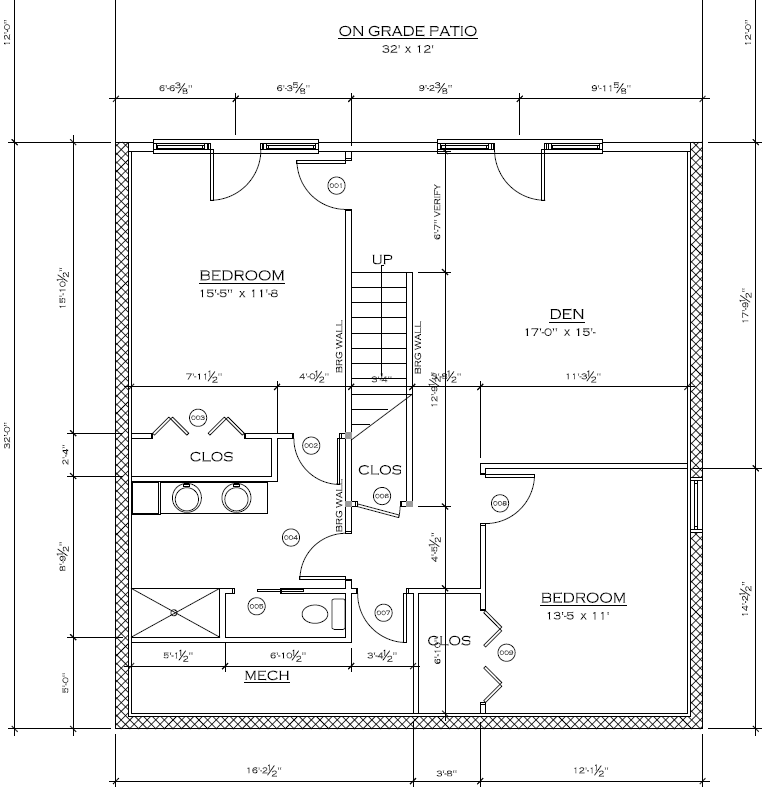
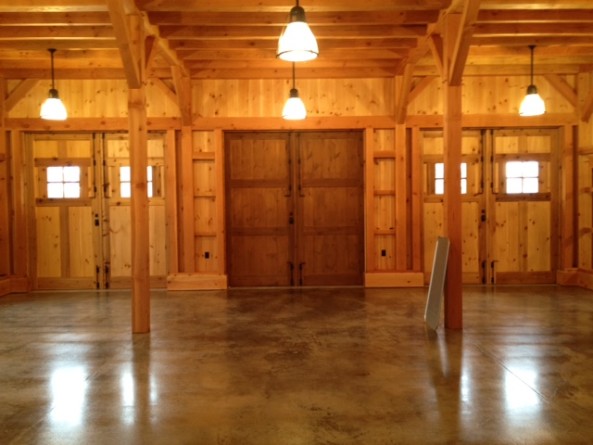
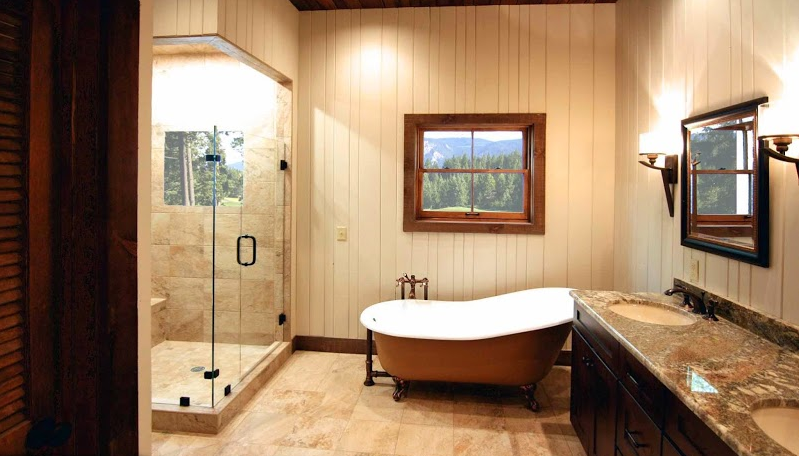
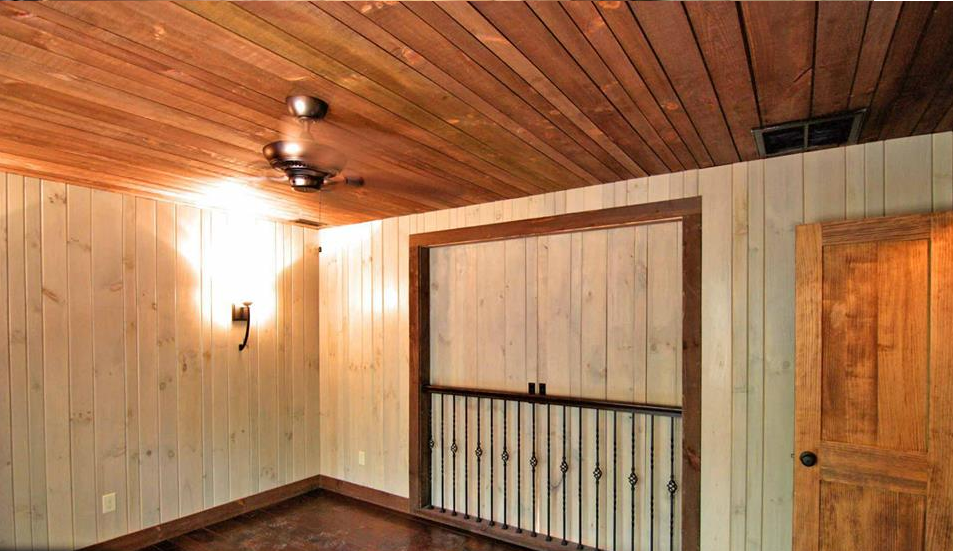
The downstairs bedroom is all framed in now, and has a good feel to it. It’s a good size, the closet is substantial, and I think the bathroom is roomy but not obnoxious. This will not be a Ridge Way bathroom!

IMG_0802

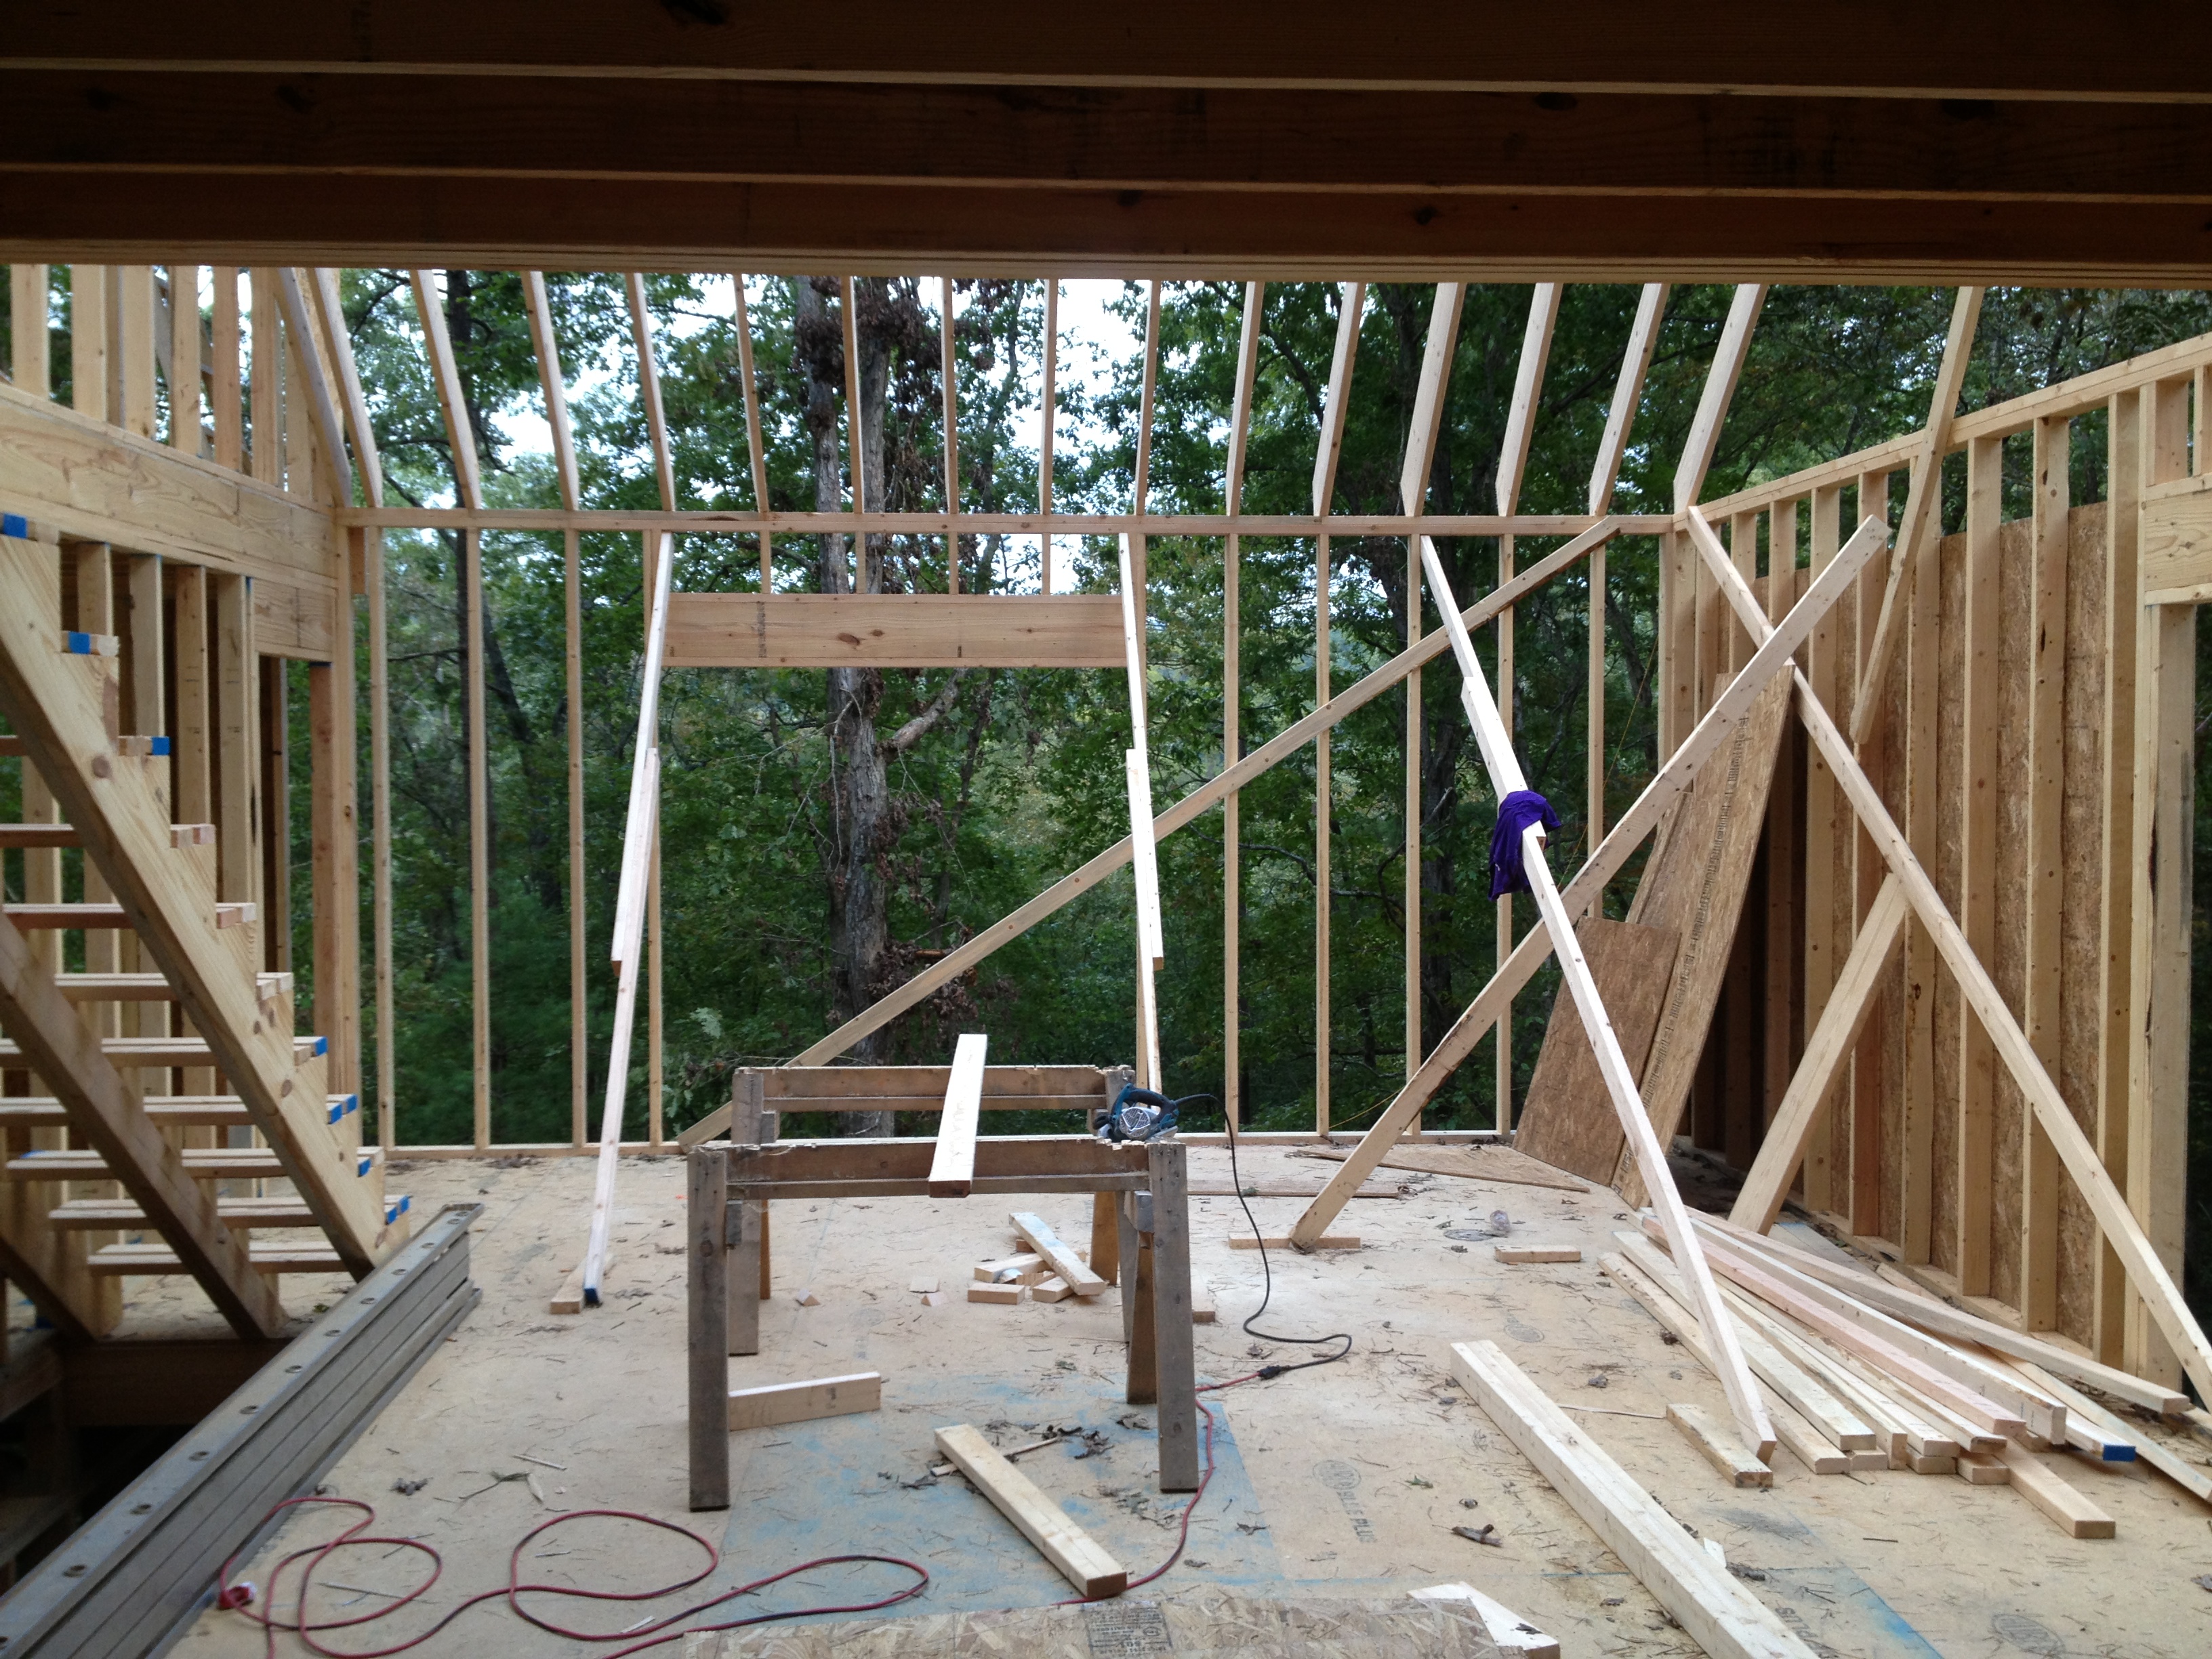
Going upstairs, the views get even better. The great room ceilings are immense, so this room will end up feeling huge! I think it might be high enough to test fly the drone.IMG_0796 IMG_0799

The best surprise so far is this upstairs bedroom. The views out both windows are awesome. The window on the left is one I referenced earlier which I think has the best view from anywhere in the house. Look down to the river, up to the mountains, just like we planned!

IMG_0797

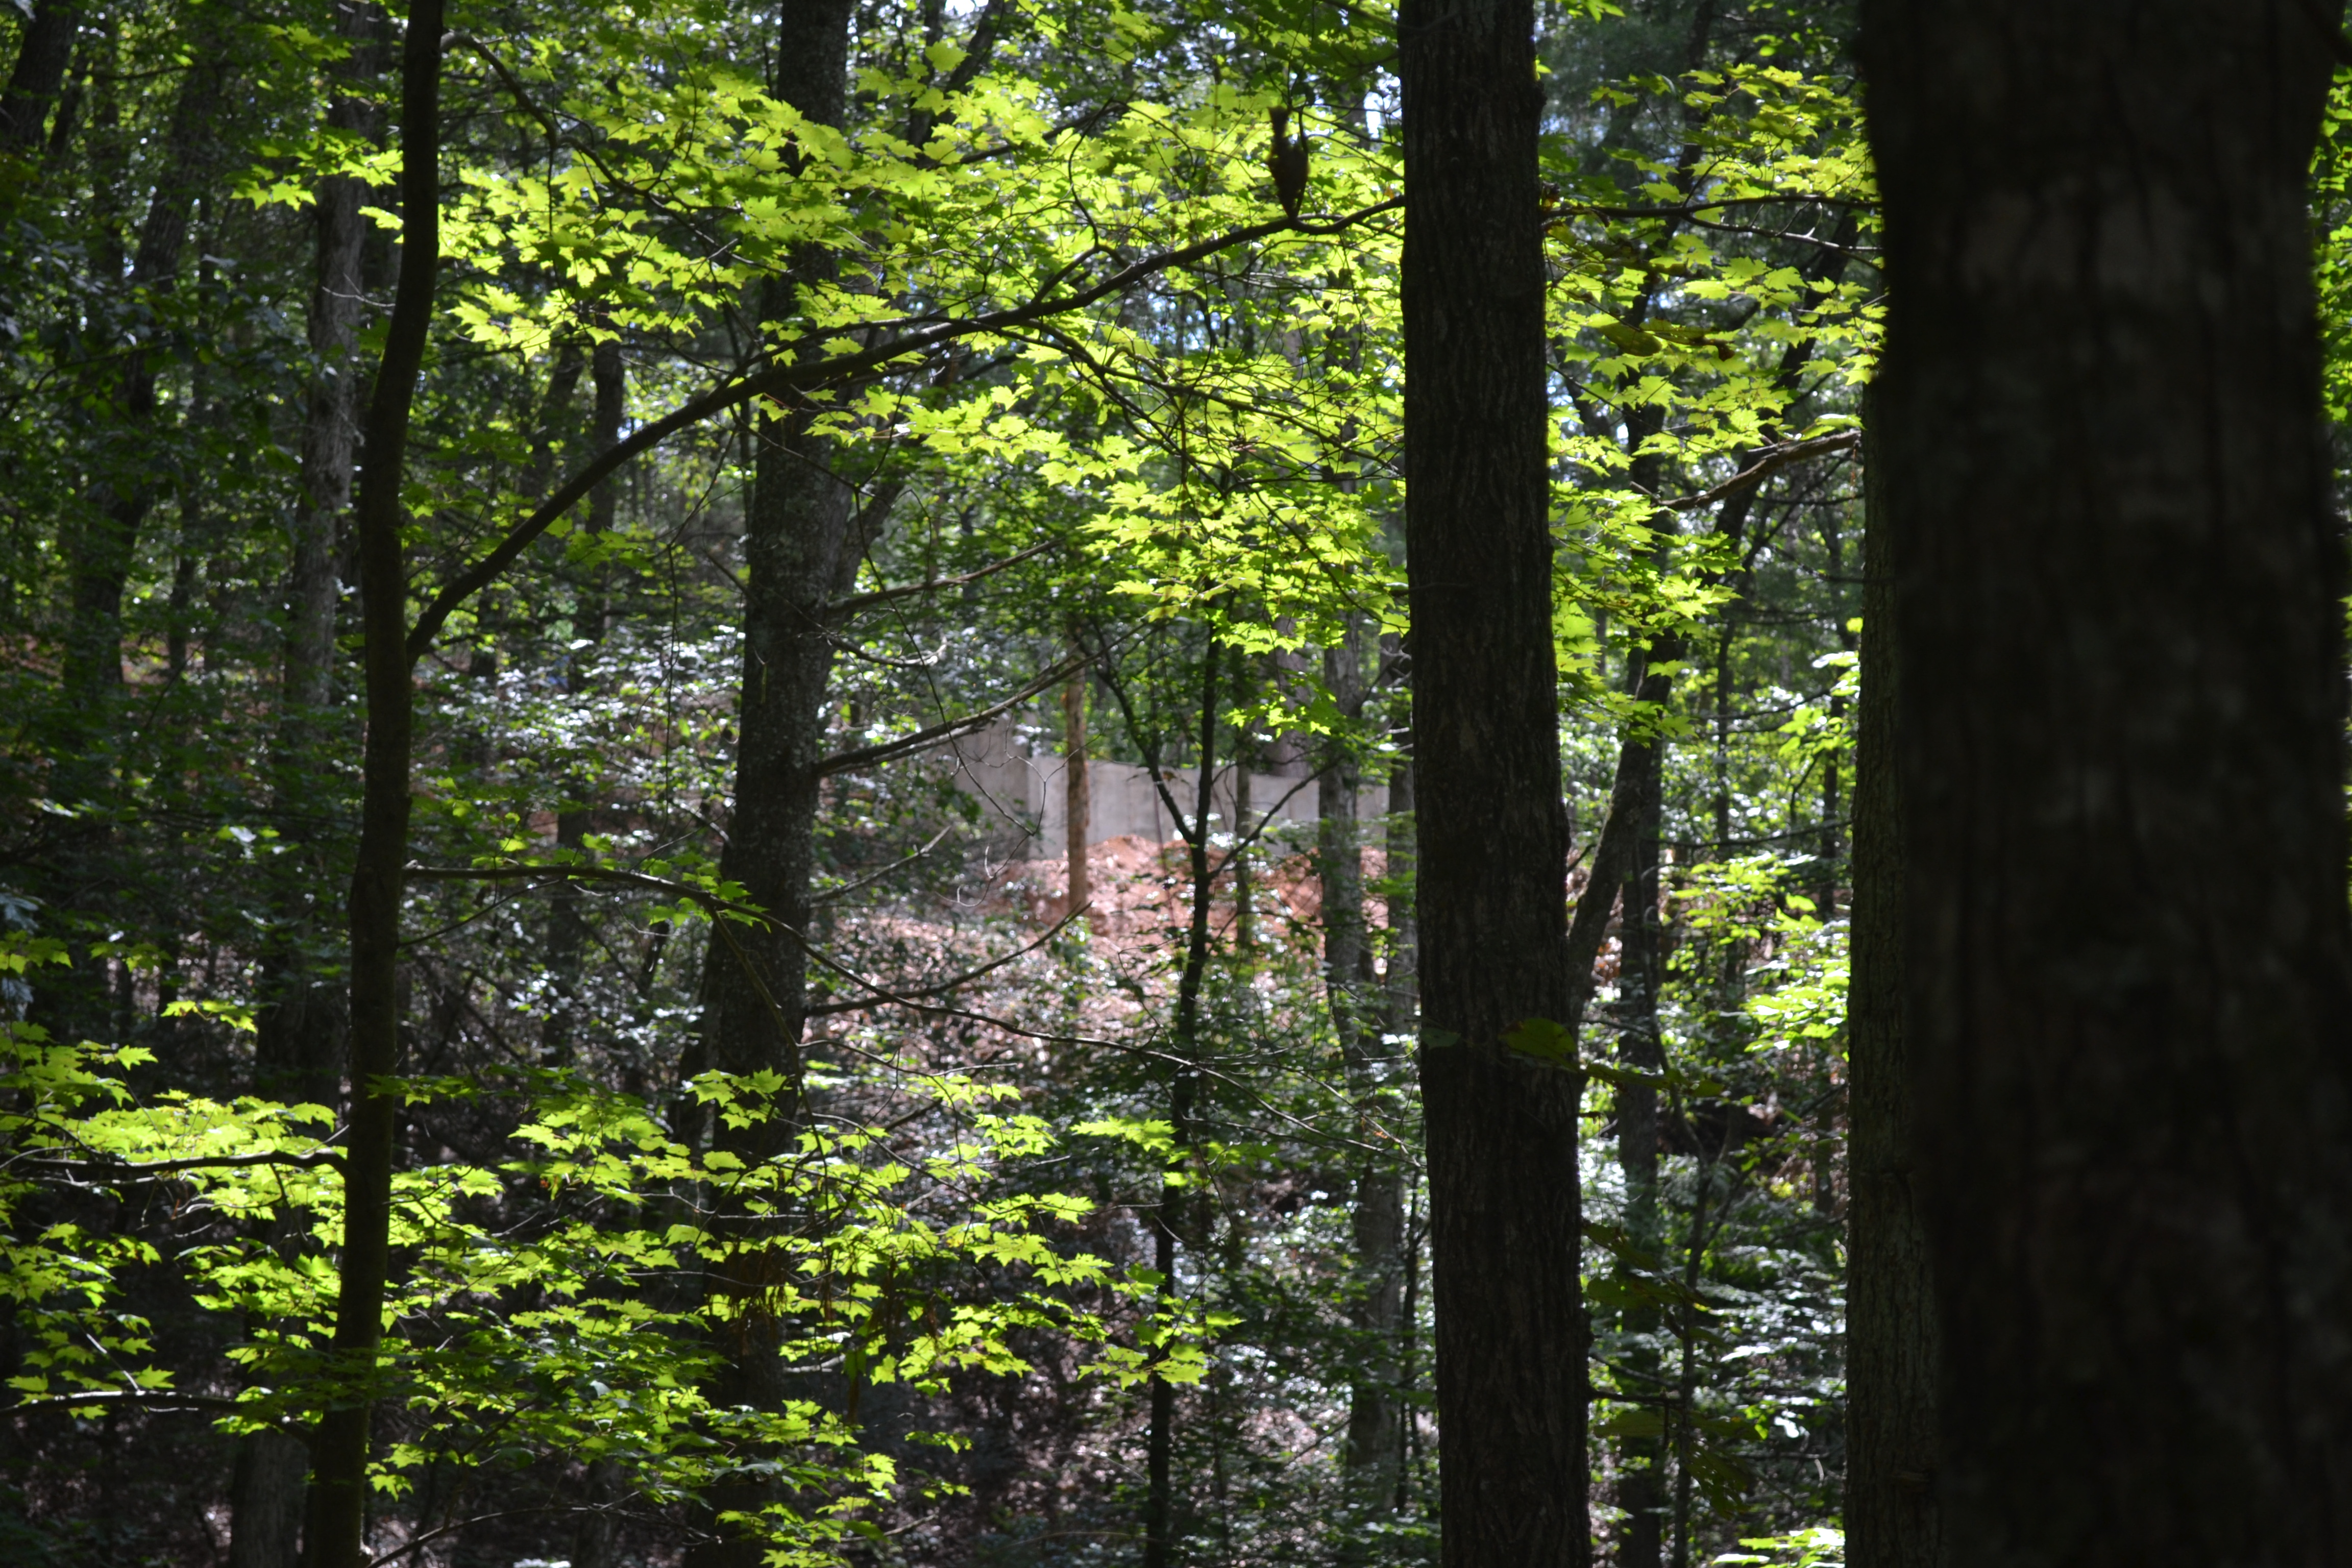
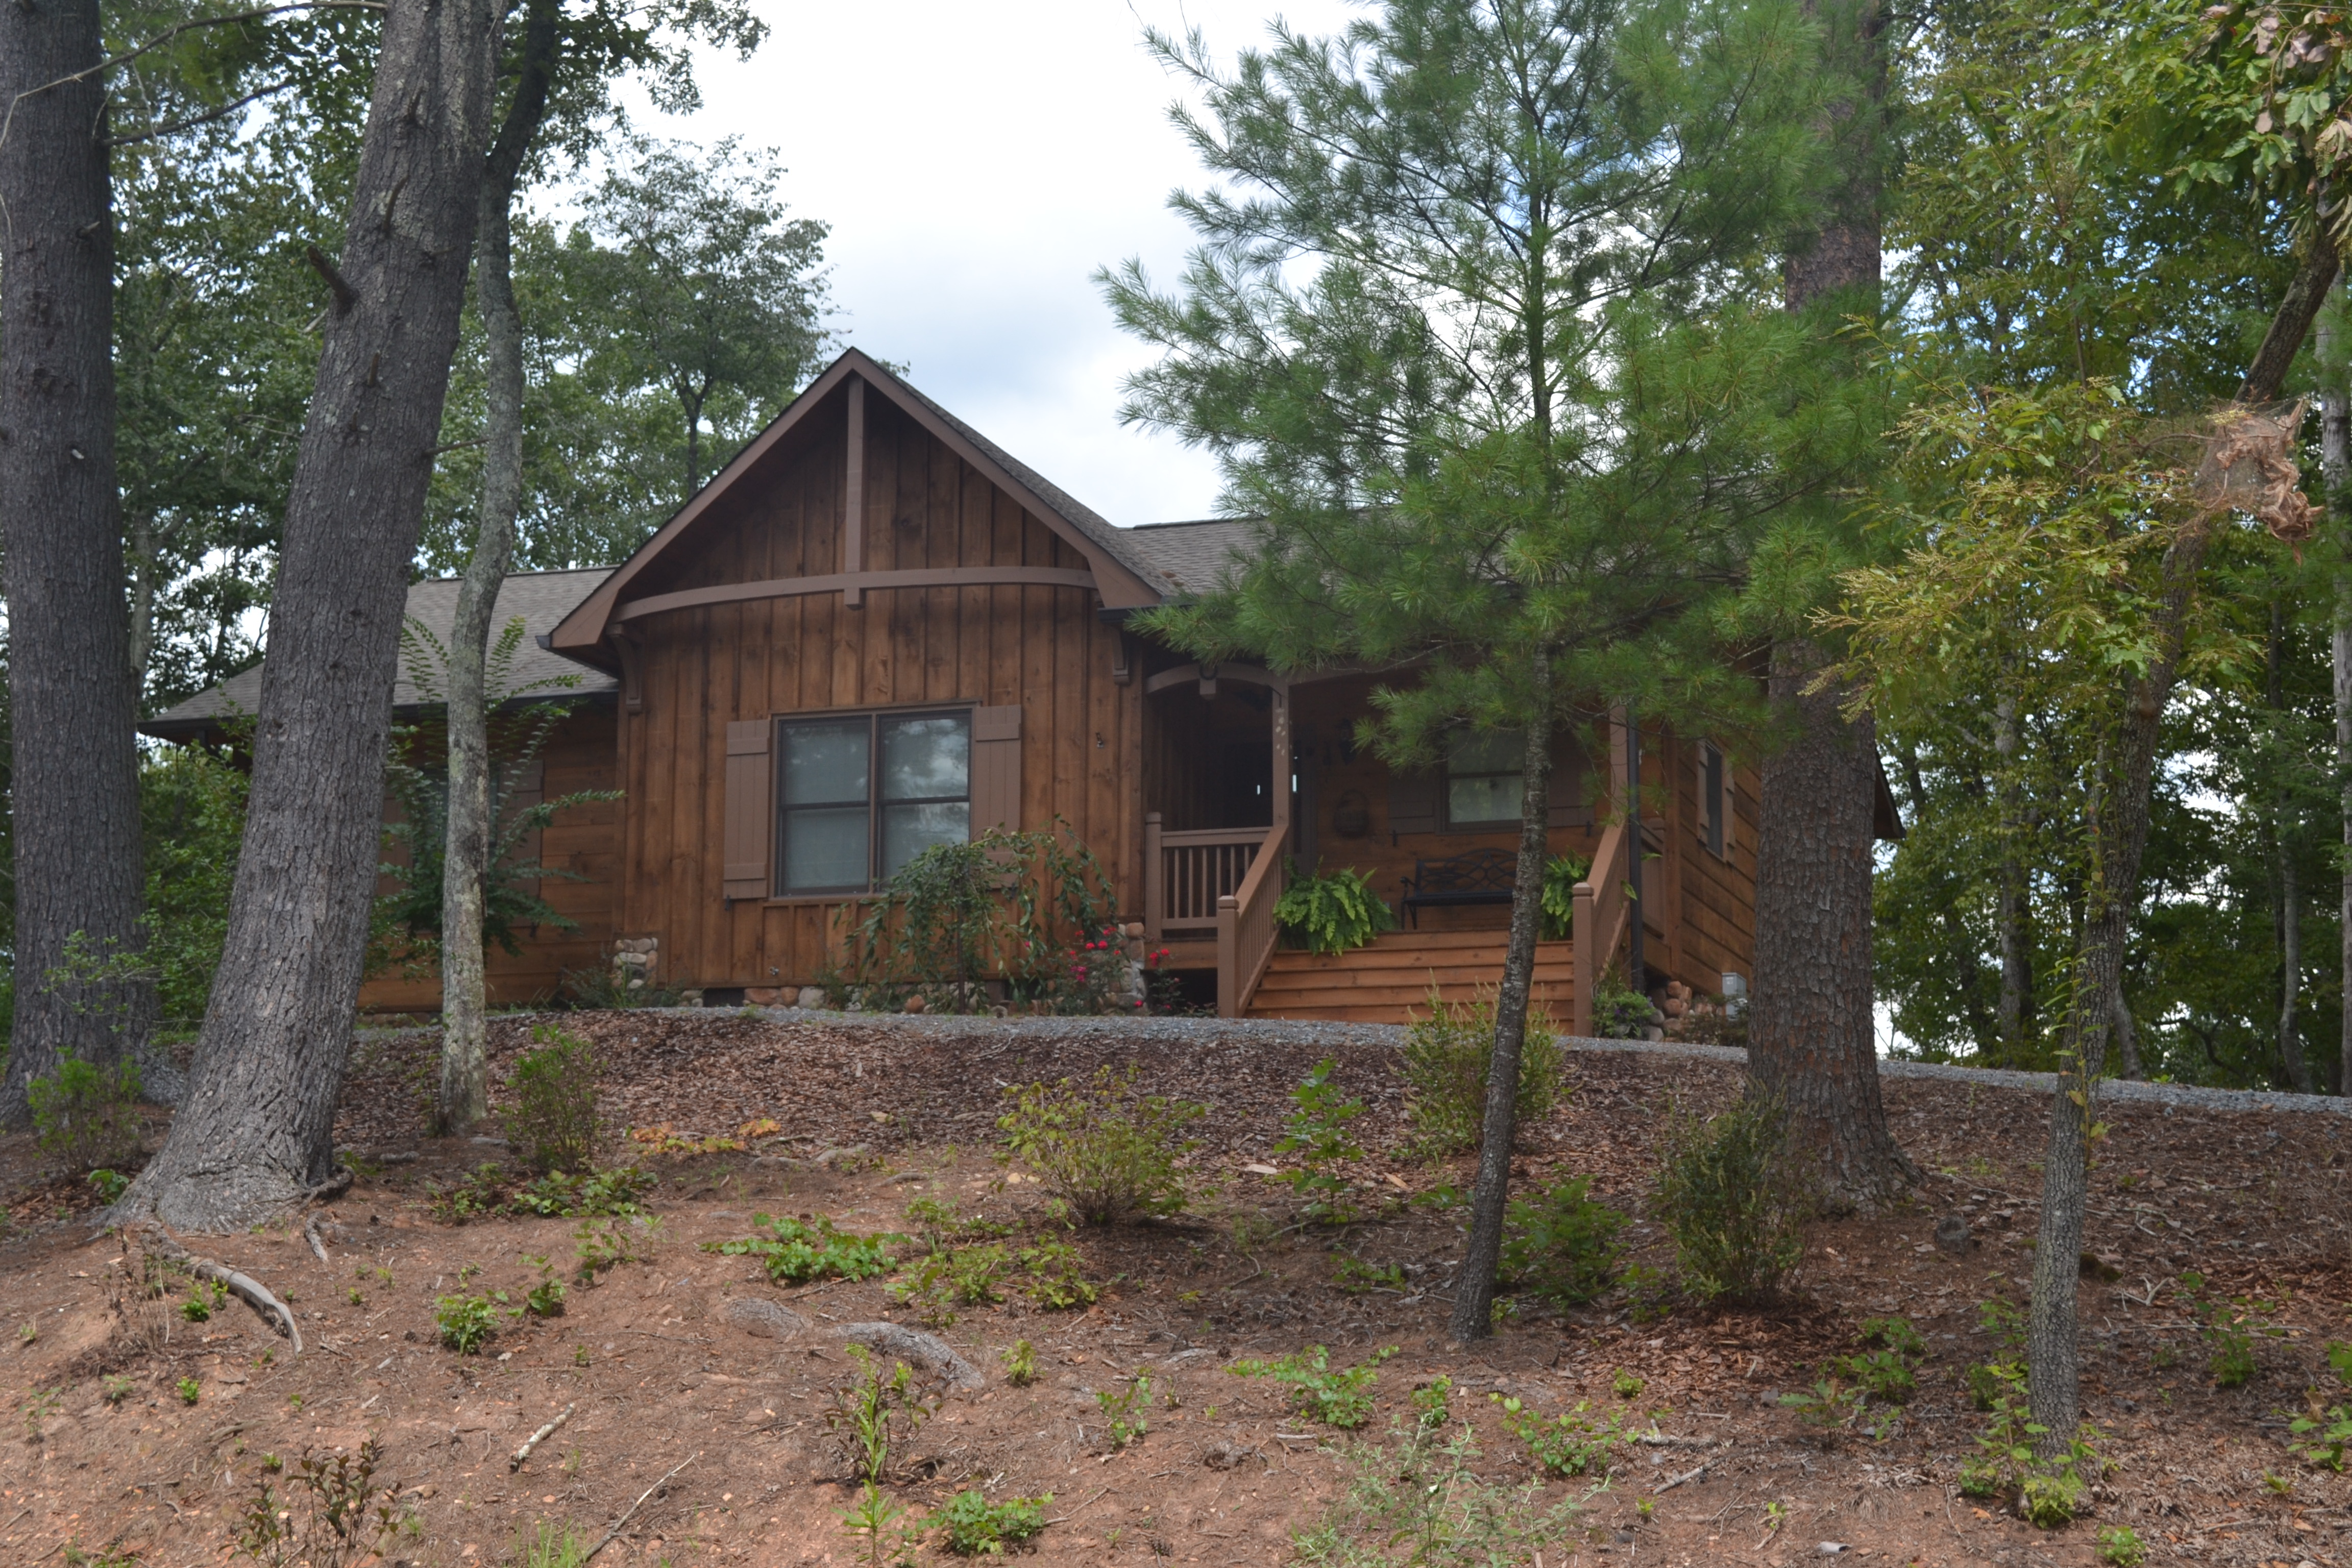
Finally, a picture with leaves to make the Northerners jealous that we’re still a few weeks from any sign of winter. It was 80 degrees when I took this!

IMG_0793


1 floor down, 1 to go

The first floor framing is complete and we can now see the floor plan and the views out the windows and doors.

The house is starting to have some presence as you make your way down the driveway.

1 driveway

This is looking at the right front corner as you reach the end of the driveway. The porch will be here, accessed by the french doors on the right. The front door is in the middle of the left wall where Rocky is. You can also see one of the french doors out of the basement.

3 right front 4 front right

Here’s the nice area in front of the house. Even with the porch and steps, there’s still going to be room to park out here.

2 front drive

Left front of the house. The main floor bedroom is on this side. The front window on this wall will be in the bathroom.

5 left front

Here’s the front of the house. Rocky is in the front door again, and there will be windows on both sides.

6 front

This is looking out from the great room out the back of the house.

10 living room window

Here’s a closer view out the back.

11 living room view  This is from the inside of the bedroom looking to the back The door to the right goes to the living room.13 bedroom window

This is the view out the bedroom window.

12 bedroom view

The bedroom has 2 windows looking out the side of the house.

14 bedroom side window  Looking towards the front of the house from the bedroom window. The door on the right goes into the bathroom, the left side of the wall is the closet. Behind that will be a closet for a stackable washer/dryer, and a half bath accessed from the living room.15 bedroom bath closet

The basement bedroom has a nice view too.9 basement bedroom view

From the middle of that bedroom you have a nice view out the french doors.

The door to the right goes into the future game room. 8 basement bedroom

The basement game room will have 2 sets of french doors.

7 basement doors

Here’s the house through the trees from across the ravine.16 perched

Framing Underway

We’re about 2 weeks behind on updates, so a few will follow. I’ll break them up so you can actually see the progression.

We needed somewhere to put all of the wood for framing, so the driveway area in front of the house had to be expanded.

driveway front pre gravel

This is nice and flat. It ended up being even more space then you see here.driveway pre gravel

Before the slab goes in, you need a gravel layer below it. You can also see where the basement bathroom (future) will be.basement with gravel

Basement from the other side, pre-slab.

left basement with gravel

Here’s our beautiful basement slab. This is a nice piece of concrete. slab from left

Looking out over the left side of the house.

left basement wall - Copy

Here you can see the awesome flat space in front of the house. This makes life easier for the builders, as they have somewhere to put materials, park, and also somewhere flat to work. It wasn’t cheap to get the rock taken out to do this, but it’s useful now and will provide a nice area in front of the porch when the house is done rather than stepping off the porch into an embankment.

slab and gravel drive - Copy

The basement is fully framed and you can walk on the main floor now. This also gives you some scale of the area in front of the house that they leveled off. That dog is not Rocky, but apparently it can climb ladders!

basement framed - Copy

I can’t leave you without a “view” picture, so here you go. This is from the typical spot “at the front door”. Just wait until you see what this looks like from 32′ forward!

view from porch with slab - Copy

More Pictures

A few more pictures to add, also from last weekend.

The burn pile continues to grow, although this should be the tallest it gets. Rocky and guest blogger  are providing scale.

burnpile

We also walked to the other side of the ravine/valley to see how visible the house will be from the other side. You can see the foundation walls in the middle of the picture. We would be looking at the back right corner here. We’re about 300′ away here. From this angle, the house really appears to be perched on a cliff, as you can see the hill drop off all around it.

foundation on hill

When we arrive, we learned that we were the cause of some heavy traffic in River Escape. These trucks are loaded up with the concrete forms that were used for the foundation.foundationtrucks

The drive has its first layer of gravel. There’s loose rock from the site work under that as a base, so hopefully this will carry us through most of the build.

top of drive

With an excessively large septic system (no one will ever have to worry about upgrading it…ever, even if they put 2 bedrooms in the basement), we had some concern about the effect of all of that digging. The septic field is to the left of the driveway in the picture, and as you can see, once you get halfway down the drive and look back, everything looks good. There will be some short grass seeded under there as ground cover, but so far it turned out better than expected (or feared).

driveside

This will be the side of the house you see when you drive up, so I’m more happy now with the decision to wrap the porch around this side. I think it will look great.frontrightfoundation

This is the view from the “front door”. This gives you some idea of the elevation, and we’re now realizing that the view from the second floor will be of the tree tops. This should be pretty cool.

front door

Left front and side. We’ve ended up with a small flat area off the basement on this side. It would make a nice patio, so we’ll be adding another door out of the basement.

foundation left

Now you’re standing under the side porch looking across the basement. This gives us an idea of how “daylight” this basement will be. I think even the basement is going to make you feel like you’re in the trees!

basementrightside

Builder Tim, his son, and super-agent Chase spend the better part of a day clearing more undergrowth between the house and the river. The view keeps getting better.

riverclearedriverclearedcloser

If you’re wondering, which I’m sure you are, there are 2 houses within ear-shot of our driveway. One was completed last fall and is used as a weekend house, and the other is currently nearing completion awaiting a buyer.

The new house is technically across the street, but you can’t see it unless you walk up or down the road a little bit. It’s almost complete, having been under construction since June. It has nearly identical square footage as we’re building, but is set up differently. It has a bedroom and bath on each level (basement, main, upper). Although it doesn’t have the riverfront, it does have a pretty awesome view over the valley. If you want to see actual pictures of it, you can see them here, this is just the view of it from the road. It’s currently for sale for $369,900 if you decide you must have it.neighbor1

The other “neighbor” is around the bend. Their house is built on the very top of the ridge and has the best view from anywhere in the neighborhood. It’s a weekend house, and is a little bit smaller than the others (all 3 of us that exist) with about 1400 feet- it’s a 2 bed/2bath with everything on 1 level. It’s not set back from the road, but that was a necessity to build on the top of the ridge, and traffic noise isn’t a factor as there’s only 3 lots on the road past it. Had this been for sale, and less expensive when we were looking, it would have been at the top of our list.

neighbor3

Guest Post: coyotes, mountain lions and walls, oh my!

After asking me if I would like to “guest post” on the house blog, Dave then had second thoughts, asking me “Wait, are you funny enough?”

We went to Blue Ridge Saturday to check on the house. Reports were that the foundation was done and basement walls were up. We were interested to see the progress because Blue Ridge had received 5 inches of rain over two days the week before. 

The progress did not disappoint! Here are a few pictures of the house so far.

DSC_0227 DSC_0236


The basement ceiling is about 10 feet, and will be able to have windows on three sides! This is going to be an extremely well lit basement! No dungeons here!

Now because this is a guest post and you get my perspective today, I will share the most exciting part of the visit for me! 


DSC_0244 DSC_0243


We had visitors!! I’m pretty sure these are only dog prints (not Rocky because they’re hardened in the concrete) but I’d like to think they are from a wild coyote and her baby cubs or a mountain lion! (Dave: I think they’re actually from a kitten.)

My parents are coming to visit next weekend and we are super excited to show them the progress on the house. The plan is to head into Blue Ridge and get some ice cream as well. Hopefully the mountain view, sound of the Ellijay River from the house and the quaint mountain town will make them want to move here!…

Happy house building!

Brittany


And we’re off!


We’re moving earth! With all permits in hand, and the ground nice and dry, we’re underway! I know you’ve been holding your breath for the last month wondering where we went. Did they fall into the river? Did they give up? Did they just decide to dig a cave and move in? Well, stop holding your breath, the suspense is over.

Extreme Makeover, woods edition:

Before:

lot


The big reveal (after). 

IMG_0703


The second picture is taken from almost the exact same spot. The exact spot would require levitation, or a drone, so this is as good as you’re going to get. If you need proof, there’s 2 trees in the middle that are very clearly in both pictures. I promise.

To get the machines, trucks, and eventually our yuppie city cars down the driveway, Builder Tim has leveled the road off quite a bit. The driveway now turns slightly left instead of dropping straight down the hill. With the angle of the house, this will have you drive right up to the front door, and keeps the driveway nearly level, which is a feat.

IMG_0706IMG_0704


Here’s the end of the driveway. The driveway curves to the upper left where Tim is working. The original slope of the driveway followed the tracks on the bottom right, so you can see how much elevation change was cut out. From this angle, you’d be looking at the front right corner of the house, and the side porch would be hanging out over the lower road.IMG_0695


Now you’re standing on the front porch. What you can’t see in this picture is the mountain peak that is dead ahead through the tress. We need to get the “fancy camera” up there and get a good picture. You can also see the river down below, but again, the human eye is a bit better than my phone’s camera. Once the foundation is in, we’ll have some trees trimmed to open up the view a little bit, and we’re going to clear some of the underbrush to get a cleaner line to the river.


For reference, the basement walls will be 9′, so that hole is pretty deep.IMG_0703

This is from the left side of the house. The previous picture was taken from the middle-right of this one. Tim is clearing out the loose dirt and moving it up to the fill the driveway. it’s a much “squarer” hole in person even though it looks kind of rough in these pictures.

IMG_0697IMG_0698

Now I’m standing at the far end of The Pit looking back towards the house.I’m about 15′ lower than where I started.IMG_0701

If you’re wondering where all of the trees went, here you go. I know what you’re thinking; “I get a pile that big when I cut my grass every week”. Now take a look at the black silt fence for scale. That’s a giant pile! Once the clearing is done, all of that will be burned on-site. The bigger trees have been removed, although there was only a handful taken out.IMG_0699 

At this point, I need to give props to the builder, Tim Miller, and our super agent Chase McHan (www.nathanfitts.com), who was actually knocking trees down with Tim this weekend. if you know anything of our history with real estate agents, I’m a tough sell, but Chase is awesome. We’ll give an Ode To Chase at some point, but for now, we just owe to Chase because he’s kept this thing moving.

Next up:

-Finishing The Pit

-Septic drain field in Wednesday+

-Foundation Footers in on Friday

-Foundation walls in on Monday


Site Plan Approved!


 We finally got the septic permit this morning! Good news is that we can build up to 4 bedrooms. The bad news is that we forgot to site the well on the site plan…oops. Fortunately, the location we’re planning on for the well is safely clear of the septic field, so it’s not a problem. This just means that the septic has to be installed prior to the well, which is fine as these 2 things can happen independently of the rest of the work.

septicpermit

Site Plan

After our initial permit application was not approved, we enlisted Kirk Hall of Riverbend soil consulting to do a site plan for the septic system. Kirk did the previous soil work, so was familiar with the lots. He’s come back with a colorful picture that should result in a permit.

site plan

The top right shows the primary drain field and the “repair” drain field. To receive a permit, there needs to be space for both a primary field and a secondary field in case something goes wrong with the first one. In the picture, the house is labeled in green, and the drain fields are the blue parallel lines to the right.

If you’re curious, for a 4 bedroom permit, Gilmer County requires a 1000 gallon septic tank, 440′ of drain line, and a 1320 square foot drain field. Then you need to show the ability to do that twice while still not breaking any rules. This includes setbacks from currently undeveloped property lines, culverts, rivers, wells, and streams.

This permit is the most difficult to get, so once it’s in hand, we should really get rolling!

Permits, Basements, and a Really Big Tree


Very little progress to report. In 3 weeks, we’ve applied for the septic permit, ordered a site survey, found a really big tree, and fixed a problem with the title.

We applied for the septic permit 2 weeks ago, and that’s resulted in having to have a full site plan done. It didn’t help that we sent a plan with 5 bedrooms to the county instead of 4. The original plan for the basement looked like this (original being the stock plan we started with), with 2 bedrooms, a bathroom, and a den.

basement original

As an aside, I don’t understand why that word (“den”) still exists a name for a room. I’ll explore that later, but for now, you just need to know that I eliminated the “den” and a bedroom so now we have the aptly named “game room”. Yes, it will house games. Fun ones like Jumbo Jenga, a pool table, and even a TV to watch…games.


basement NEW


Quotes to finish the basement were very high, so I think this may be something I tackle. The extra bedroom and space would significantly increase resale (about 15%), but would have an even large impact on rental rates. There are not a ton of 4 bedroom houses available to rent in the area, and they rent for $250+ a night compared to the $150-$175 for 2-3 bedrooms. Over 150 nights a year, that’s a huge difference.

As of now, I’m planning to use the same tongue and groove from upstairs for the basement was and doing a stained concrete floor for the game room with carpet in the bedroom. This would be the only carpet in the house, so maybe I’ll match the upstairs wood. If you doubt the stained concrete:

concrete barn floor concrete floor kitchen

So the first one is a barn, but it proves how awesome the concrete looks with wood. The second one is a kitchen. For the northerners, I’ll remind you that it doesn’t get quite as cold down here, and the concrete will be nice and cool in the summer.

With that sidebar taken care of, I have to introduce you to the largest tree in River Escape.

tree1 tree

I also stood next to it and is it wider than my arm is long, so we’re thinking it’s about 40″ across. If it were straight, it would be worth some $$, but it’s a scoliosis tree, so it’s a bit wavy. The surprising thing about this tree is that we’ve walked by it about 10 times before and had never noticed it.

bigtree


This is the view from the driveway, with the giant tree (this tree needs a name…) on the right. It’s far enough away that it looks the same size as all of the normal trees, but it’s actually about 2x as big. I want this tree to stay, but if they need to take it out for the septic dig, we will find a way to make use of it in the house.

Finally, we settled an issue with the title. When we received the title paperwork a couple of weeks ago, there was a lien listed, showing that the lot was being used as collateral for money that was owed to the developer. I dug through all of our prior paperwork and there was nothing about this. After a few conversations with the lawyer (and waiting while the lawyer was on vacation, then off for the 4th of July), they figured out that the lien was from another tract, and the paragraph about it had pulled in from another document. I won’t admonish them for poor Microsoft Word hygiene, but it was a pretty big mistake. They sent an addendum this morning that deleted that paragraph, so it’s behind us now. Thus, my PSA today is to read every legal document because even your lawyer won’t, and keep your eyes open for giant trees right in front of your eyes!


Out for bids


The plans are out for bids, which means that hopefully we’ll be making minimal changes at this point. We had been going back and forth with the builder on the plans, and finally decided to go back to plans that we had seen a few weeks ago and just work with those.

We will be making a few small changes during the build, like moving the covered porch from the back of the house to side, but this is 99.5% of what we’ll build. I’m also not a fan of the round window in the front. I think it should be a square.

The design is from a timber and log design company called Moss Creek.  We’re on the very small side of what they do, but it’s fun to look at their site for ideas.

http://www.mosscreek.net/

Here’s the front elevation:


HousePlanFrontElevation


Here’s a color rendition of the front:

HouseFrontElevationdrawing


And here’s a similar one that was built in North Carolina. This one is reversed, but it does have a side covered porch. The exterior is also different than what we’re using. Where this one is board and batten, we’ll have log. So, our house will be more brown than this, and I don’t anticipate any red windows. I do give them points for keeping the stone piers on the porch square and not building “ugg boots” like the one you’ll see below. Square houses should have square piers, which also means they should have square windows. So just imagine this house mirrored, brown, and with a square window.

HouseFrontReversed

The rear elevation is exact, except the porch will be off the left.

HousePlanRearElevation

Here’s the non-porch side.

HousePlanSideElevation

This house, built somewhere up North, is oriented the same way as ours, and they also added a side covered porch. They lose points for the porch piers and siding, but it was a good effort.HouseSidePorch

The first floor has a half bath again. I toyed with opening up the entire space where there’s a 1/2 bath, laundry, and closet, but it ended up being an awkward amount of space that wasn’t very usable. I also thought about making this space an office, but the view would be up the hill towards the driveway. A window there would be the worst view in the house. This is relative, of course, but I think the basement will have a better spot with a view of the river. The loft will likely be a great spot, too.

The other option was using all of that space to make a massive bathroom. Our previous house had a bathroom and closet that were almost as large as our current apartment. I’m not exaggerating, the previous owners built an addition just for this bathroom. It was obnoxious and inefficient, and almost made me not buy the house in the first place. So, after that experience, we’ve opted to keep the bathroom a normal size. The second picture below is of the master bath in the one that was already built, and as you can see, it has plenty of space. I don’t think an average sized american would fit into the tub those people have, but I guess they were going for looks over function.

HousePlanMainFloor lowerbath

There were two things I wanted to work into this house that I finally figured out: a loft and barn doors. We found a way to do both with the second bedroom on the upper level. The room labeled “bedroom 3” below will be open to the great room, so it will be loft space. When all of our friends stay over, though, and we need to use it as a bedroom, there’s barn doors to close off the room for privacy.

HousePlanUpperFloor

Looking up from the great room, this is what the doors look like:

Loftbarndoors

Here’s the loft with the doors open:

loftdooropen

And the doors closed:

loftdoorclosed